In this article, I would like to share how to build & deploy ASP.NET CORE Web API to Azure Linux App Service using Azure DevOps Build and Release pipelines.
We will do this in 3 steps –
- Create ASP.Net Core Web API. You can download sample App from here.
- Create Build Pipeline to build the project and create deployment artifact.
- Create Release Pipeline to deploy the artifact to Linux Web App Service.
Step 1-
- Create your own ASP.Net Core Web API or Download the sample App from the link given.
- Upload the project to Azure DevOps Repos as shown below-

Step 2 –
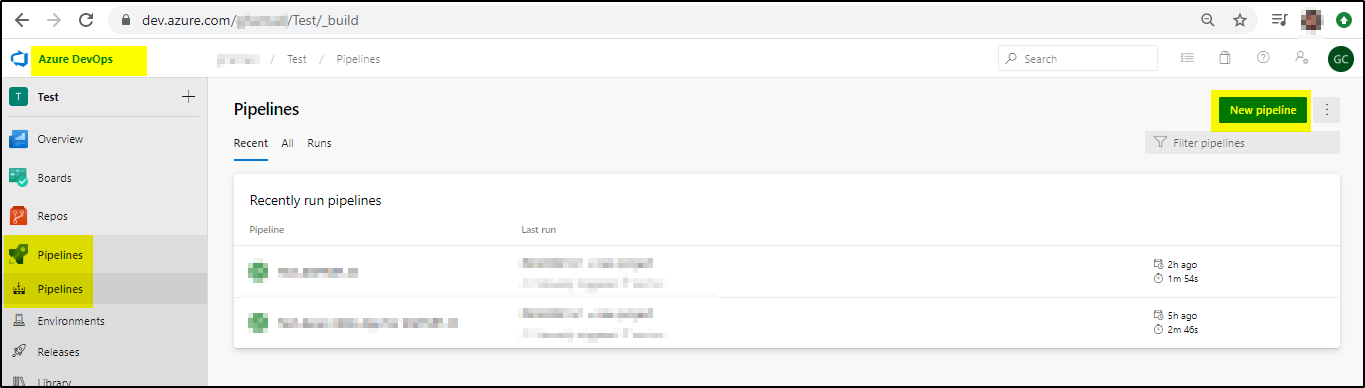
- In Azure DevOps, create a build pipeline. Click New Pipeline
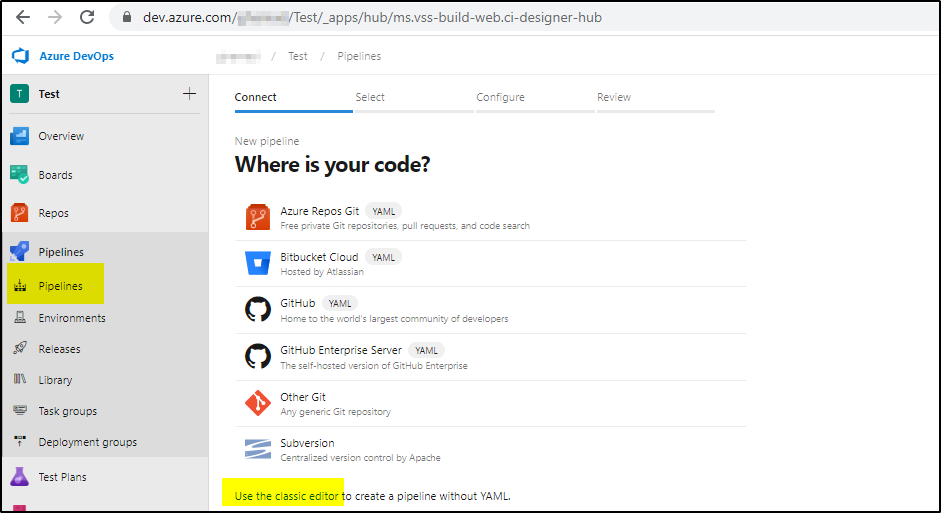
- Click on “Use the classic editor”
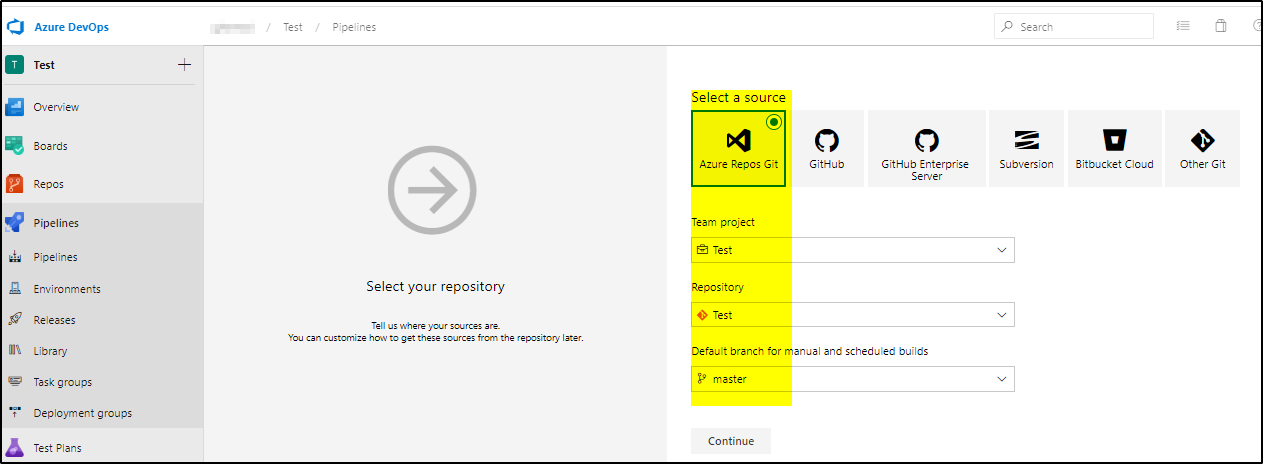
Select “Team Project” and “Repository” and click continue
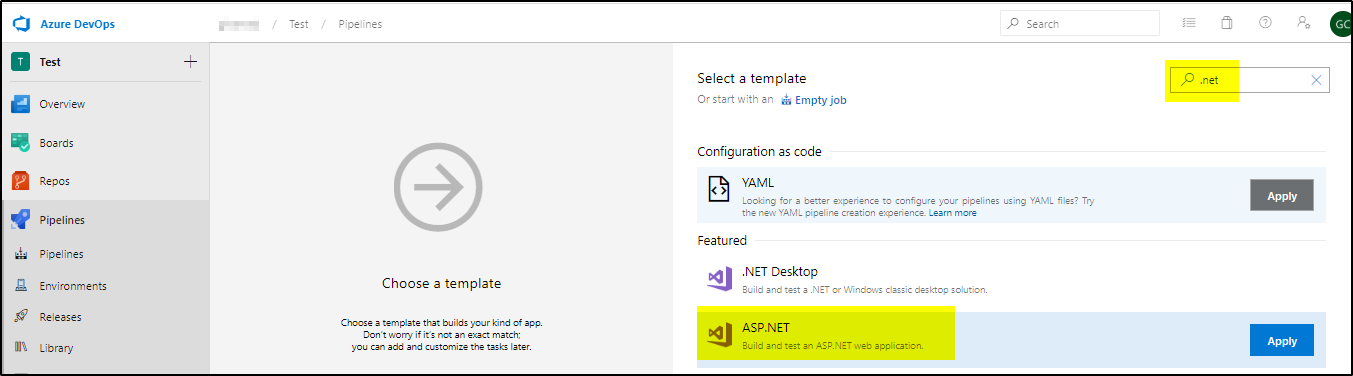
- Search for “.net” and select ASP.NET and apply
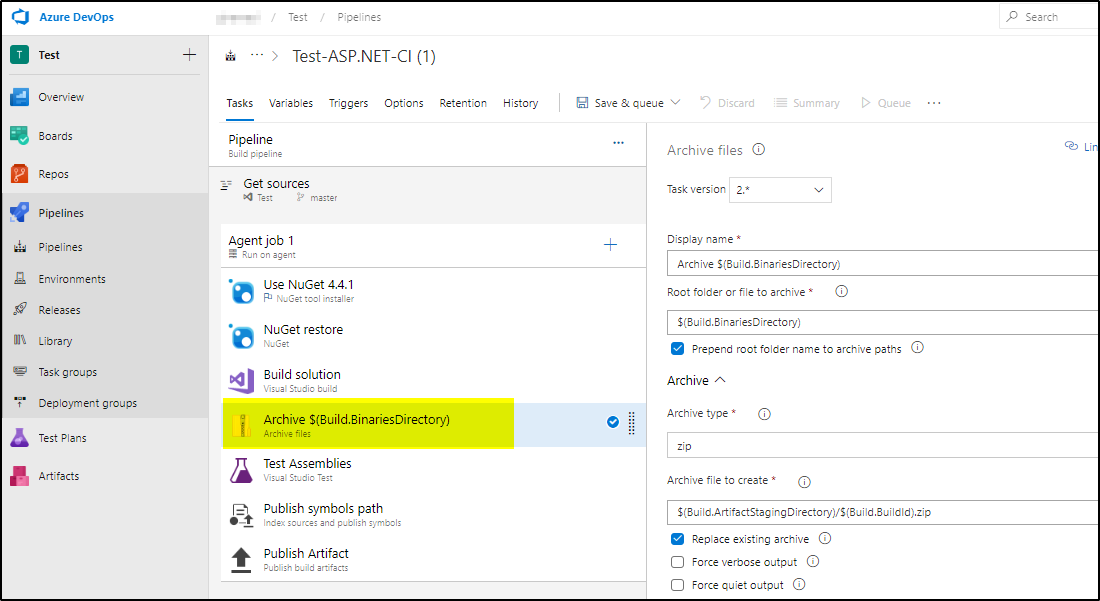
- Add “Archive” task below Build solution task-
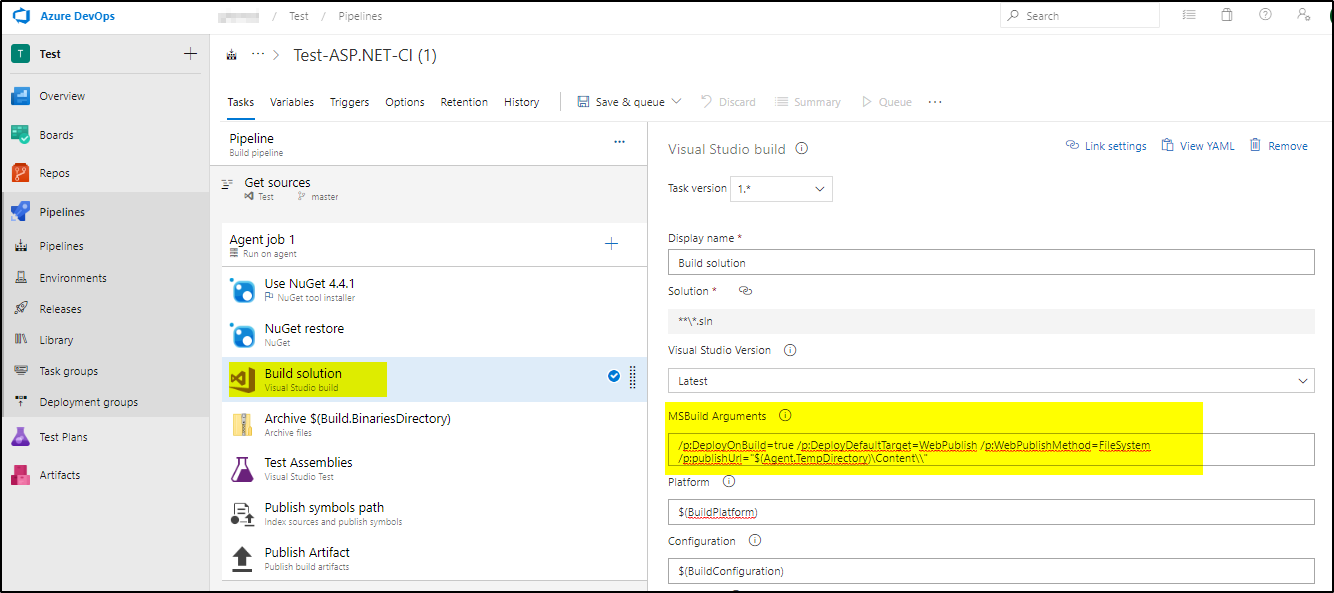
- Now Edit “Build Solution” task and update MSBuild Arguments –
/p:DeployOnBuild=true /p:DeployDefaultTarget=WebPublish /p:WebPublishMethod=FileSystem /p:publishUrl="$(Agent.TempDirectory)\Content\\"
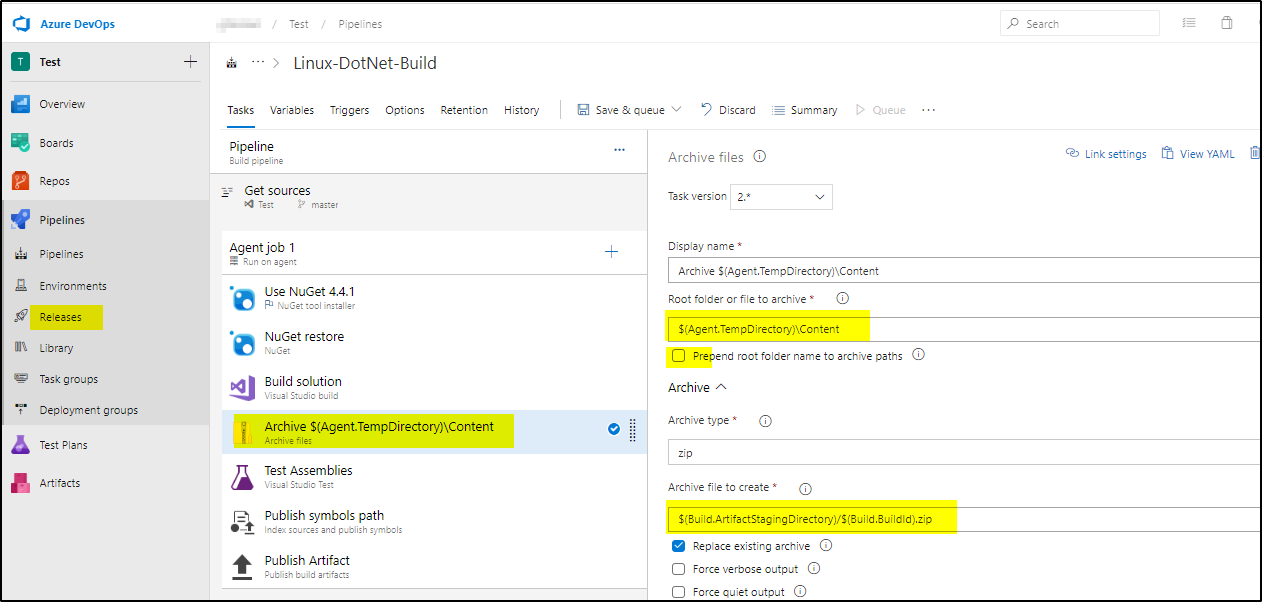
- Edit Archive Task and make changes to “Root folder or file to archive” and uncheck the check-box-
Save and Queue the pipeline. Check the published artifact-
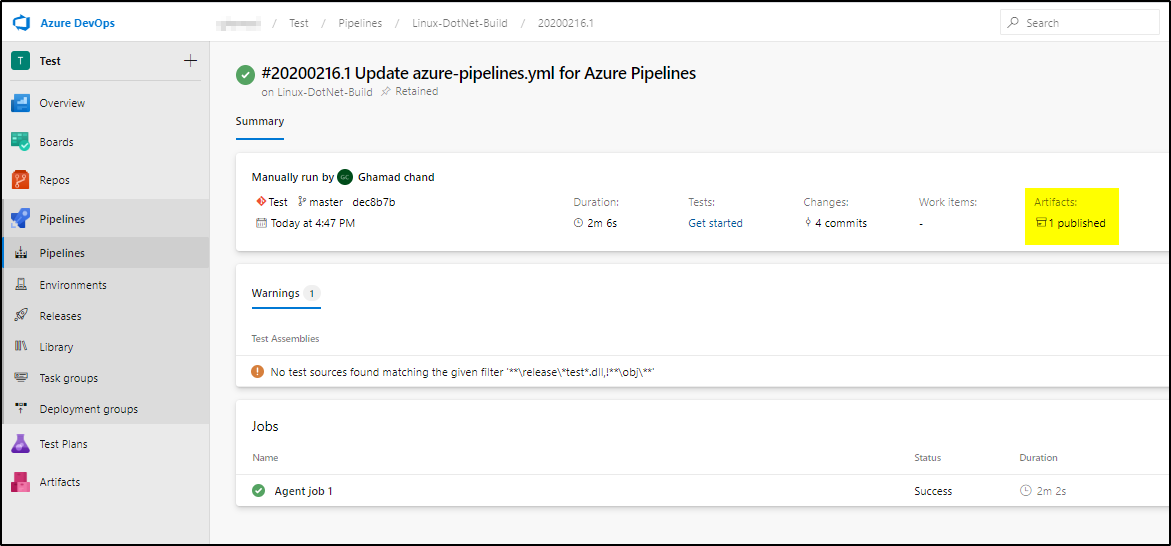
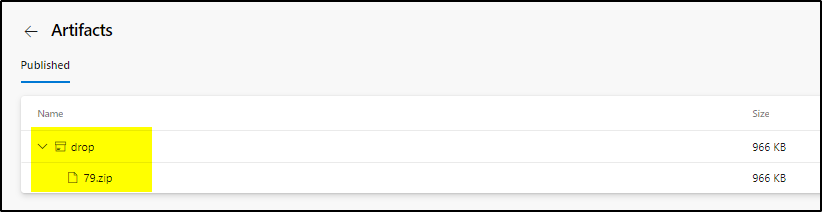
Now the build artifact is ready. We will deploy it on Linux Web App.
Step 3-
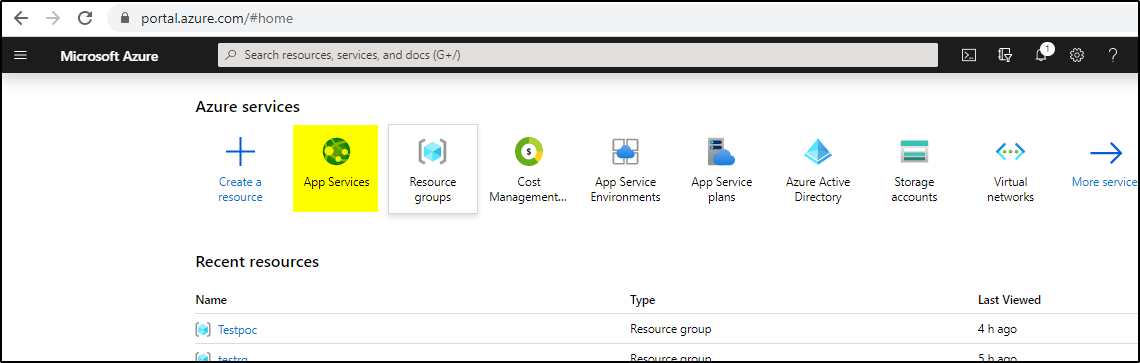
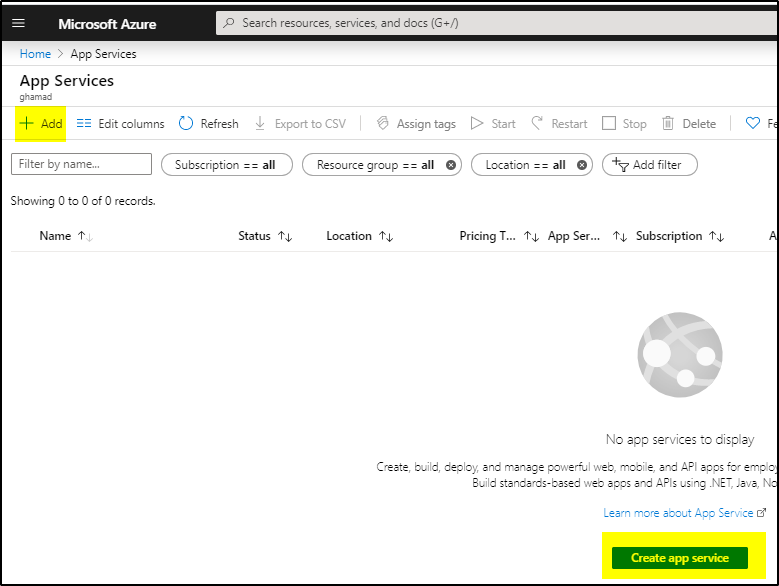
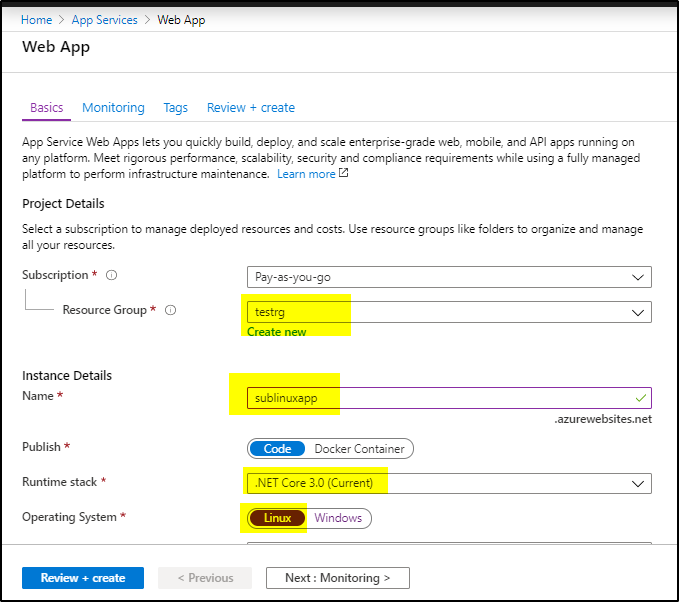
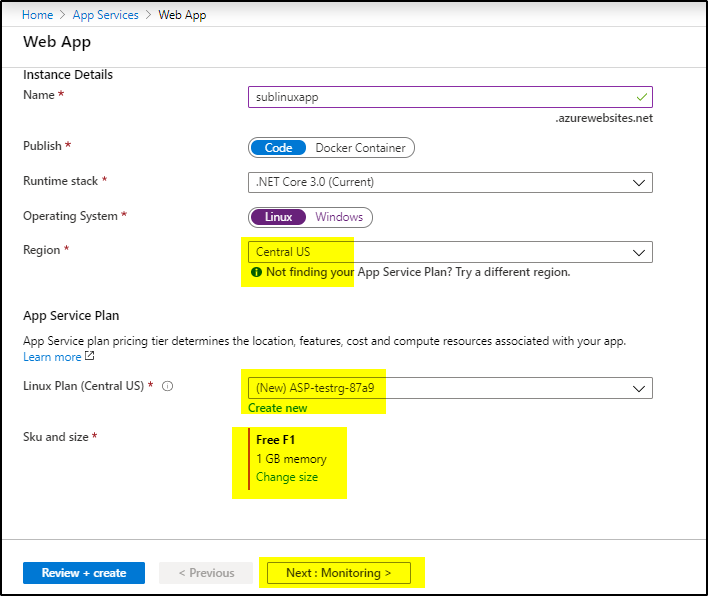
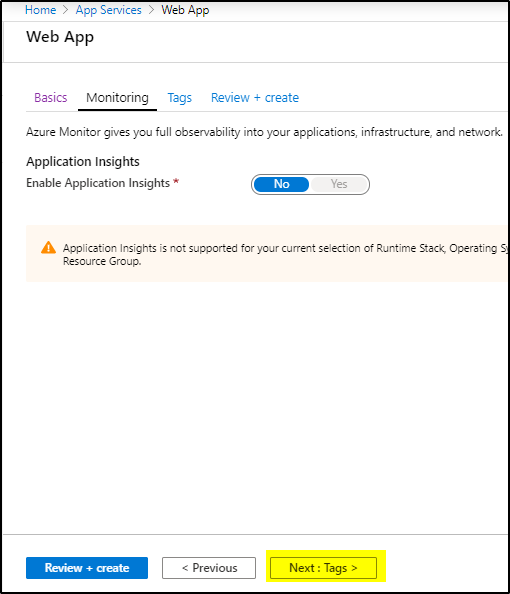
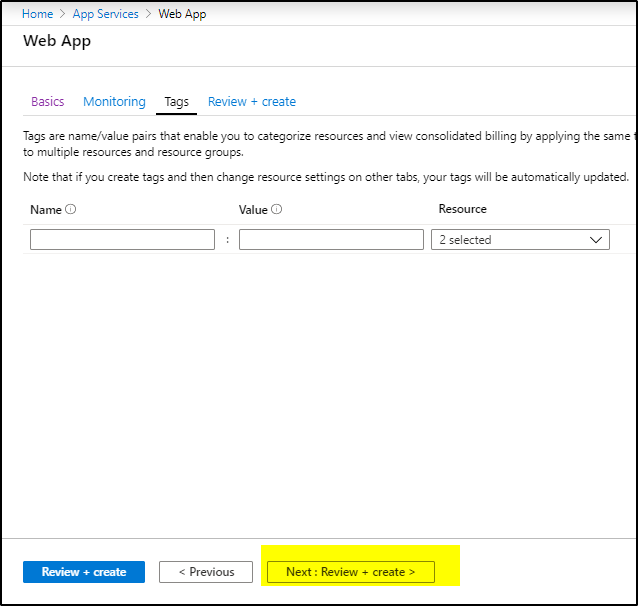
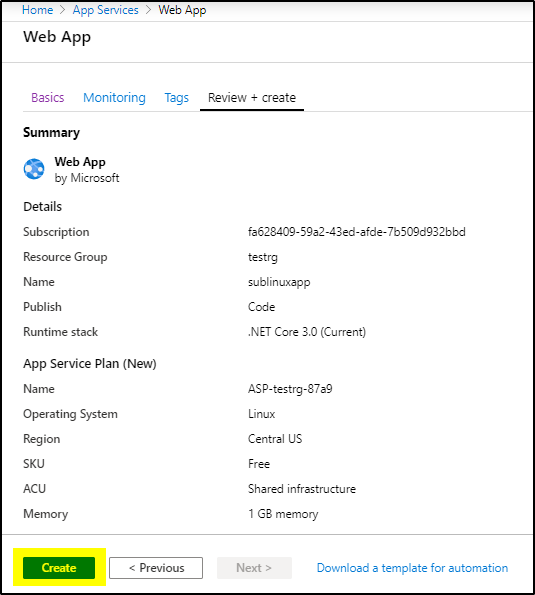
- Create Linux Web App in Azure portal where the ASP.NET Core Web API will be deployed using the Release pipeline.
- Follow the below screens to create Linux Web App in Azure portal.
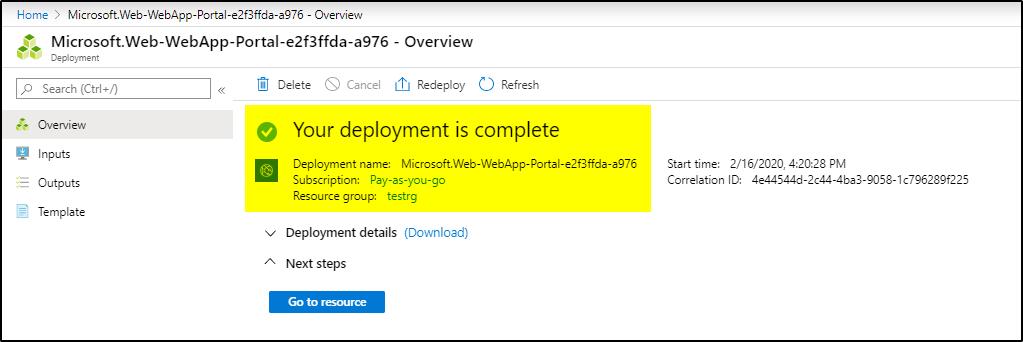
Now Linux Web app is ready. Lets create Release pipeline to deploy the Web API-
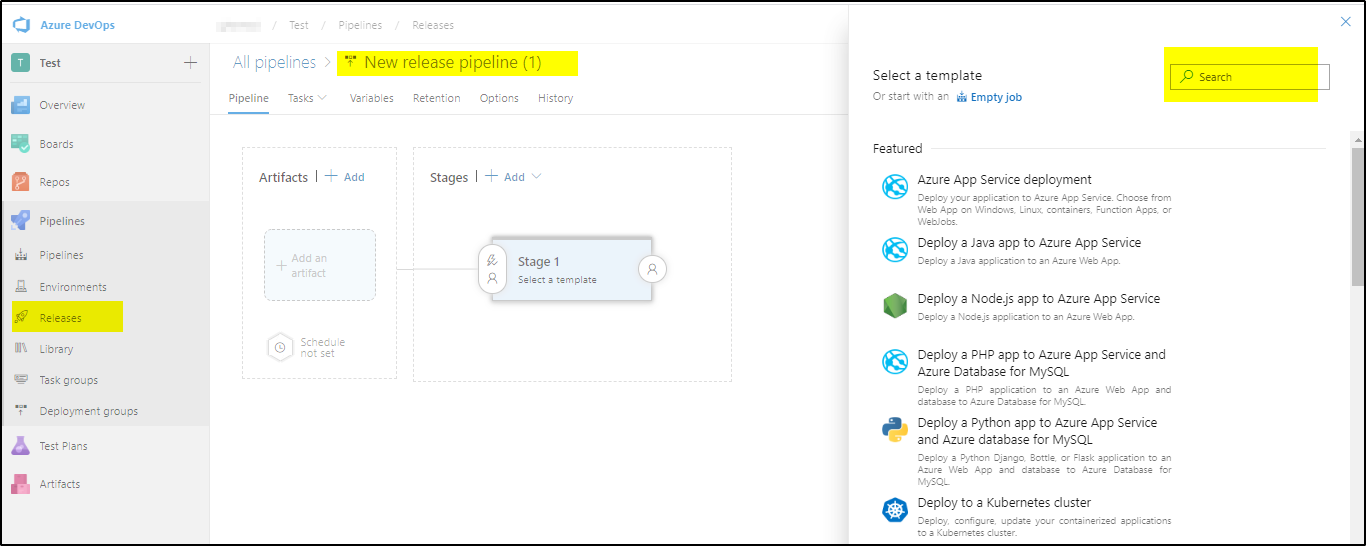
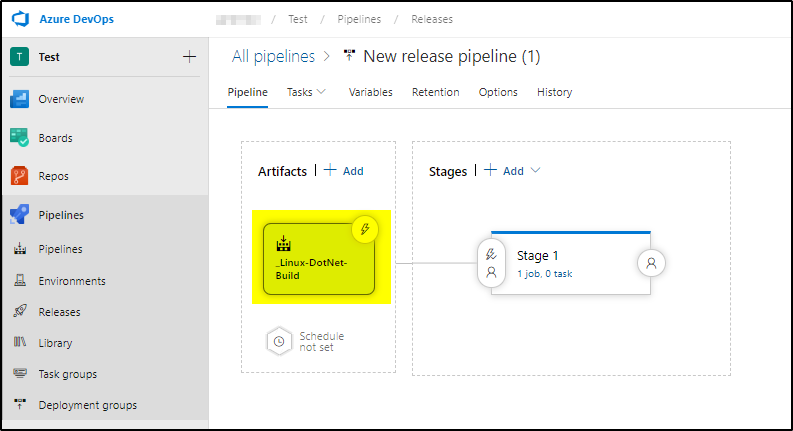
- Under Releases, create New Pipeline and select empty job-
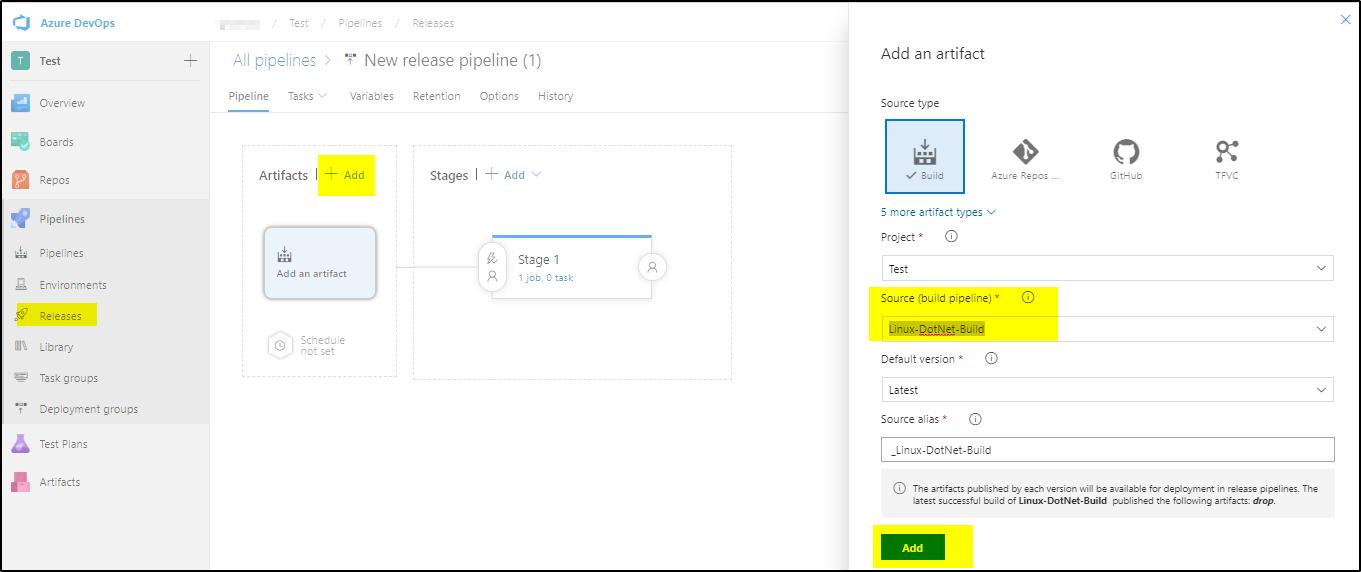
- Add Artifact
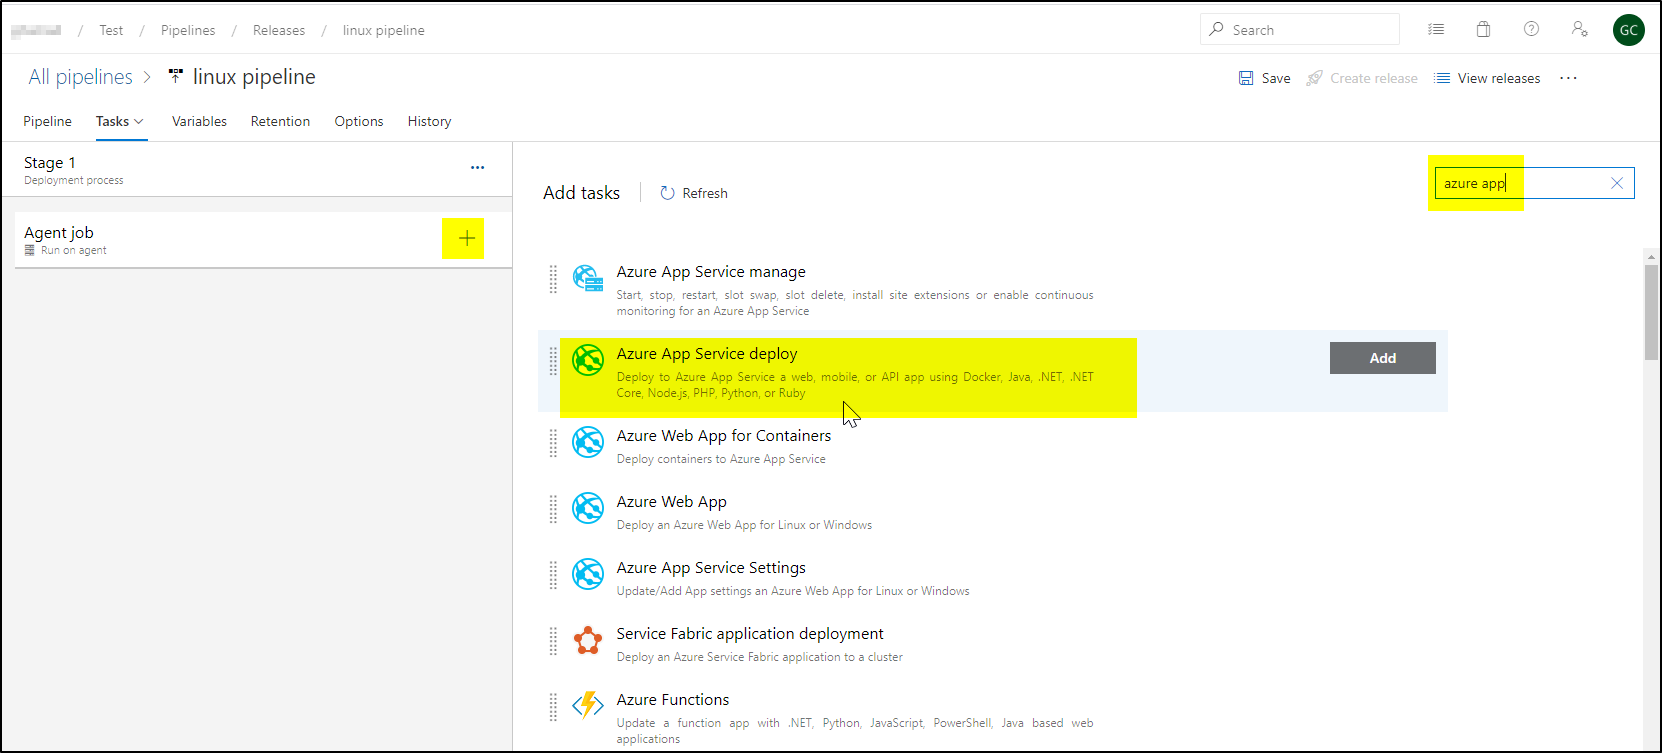
Then add a task in Stage 1 and search for “Azure app” and add Azure App service task-
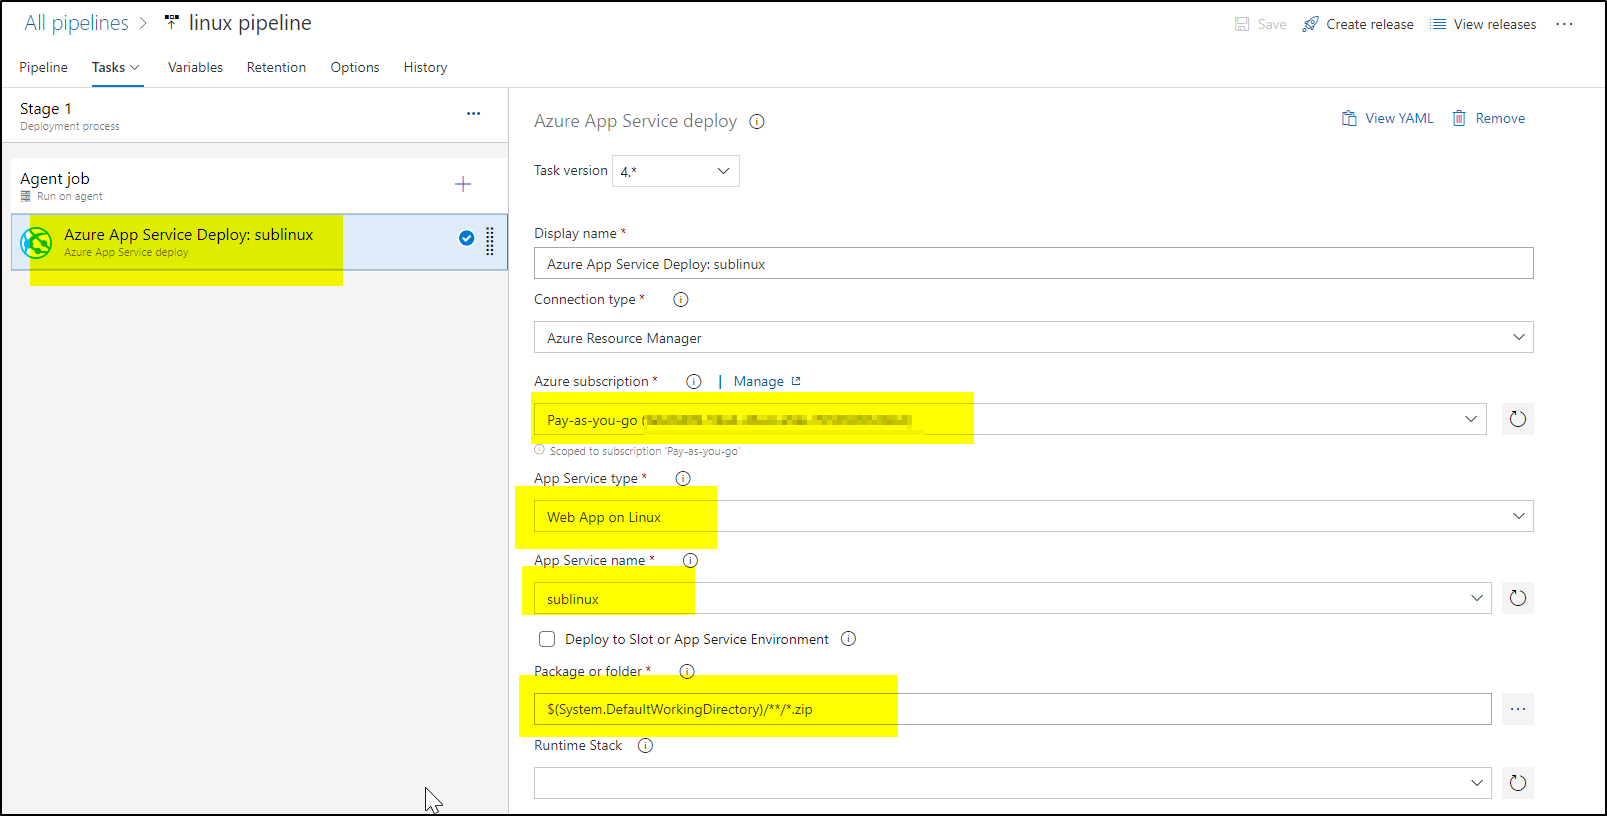
Configure the task as shown
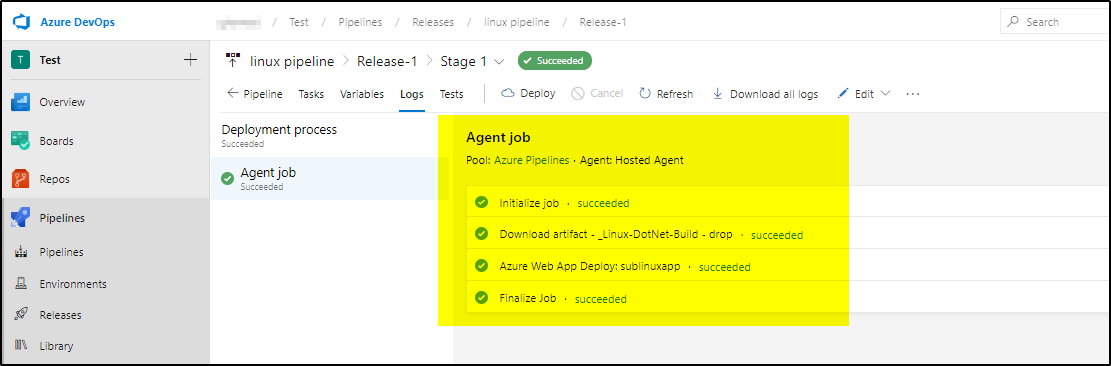
Save and create release to deploy-
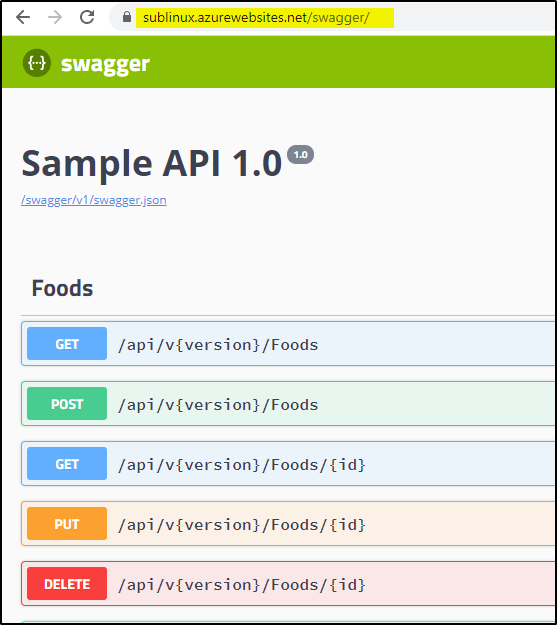
If you are using the Sample app suggested in this article then run the below url to access the SWAGGER definitions-
https://<YOUR APP NAME>.azurewebsites.net/swagger/