kops helps you create, destroy, upgrade and maintain production-grade, highly available, Kubernetes clusters from the command line. You can read details here.
In this article we will see how you can create Kubernetes cluster with one master and 2 nodes in AWS. This will be created from WSL (Windows Subsystem for Linux) on Win 10. Also the cluster will be created in your existing VPC.
Just to remind you this is very basic article fro beginners.
To get started, we need to get some tools ready before creating cluster-
- Install WSL on Win 10 server.
- Install kops (linux)
- Install kubectl (linux)
- Install awscli
- Install PuTTY & PuTTYgen
- Create VPC, s3 bucket, Hosted zone and Internet gateway.
Step 1 – Install WSL on Win 10 server
Follow the details provided in this doc – https://docs.microsoft.com/en-us/windows/wsl/install-win10
Install Ubuntu 18.04 LTS and create a user and password (while installing WSL it will ask for a user and password for OS user).
Step 2 – Install kops (linux)
Once WSL is installed and ready. Run the below commands to install kops-
cd $HOME
curl -Lo kops https://github.com/kubernetes/kops/releases/download/$(curl -s https://api.github.com/repos/kubernetes/kops/releases/latest | grep tag_name | cut -d '"' -f 4)/kops-linux-amd64
chmod +x ./kops
sudo mv ./kops /usr/local/bin/
run this command to make sure that kops installation was right– > kops version
Step 3 – Install kubectl (linux)
Run the below commands to install kubectl-
cd $HOME
curl -Lo kubectl https://storage.googleapis.com/kubernetes-release/release/$(curl -s https://storage.googleapis.com/kubernetes-release/release/stable.txt)/bin/linux/amd64/kubectl
chmod +x ./kubectl
sudo mv ./kubectl /usr/local/bin/kubectl
run this command to make sure that kubectl installation was right– > kubectl version

Step 4 – Install awscli
Run the below commands to install awscli-
sudo apt update
sudo apt install awscli –y
Run aws configure command and set the AWS Access key and AWS Secret Access Key-

Step 5 – Generate ssh key
Run ssh-keygen to generate public/private key pair
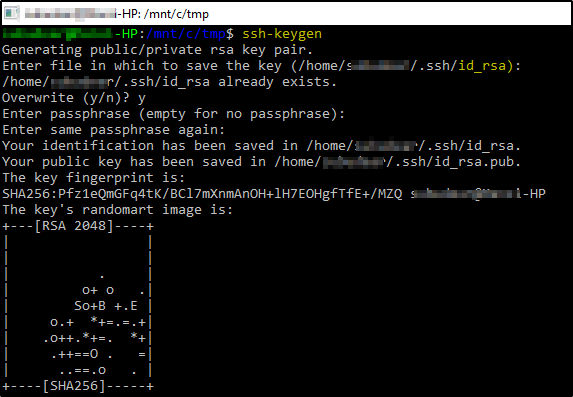
You will find 2 files – id_rsa (private key) and id_rsa.pub (public key) created in ~/.ssh
Step 6 – Create minimum required AWS resources-
–> VPC
–>Hosted Zone (Route 53)
–>Internet gateway (attach to VPC)
–>S3 bucket to store the Kops state
Once these resources are created. Set the below variables with the values-
export KOPS_STATE_STORE=s3://dev-kops-state-sub1
export CLUSTER_NAME=k8s.test.local
export VPC_ID=vpc-0b1d20290121a5c0d # replace with your VPC id
export NETWORK_CIDR=10.0.0.0/16 # replace with the cidr for the VPC ${VPC_ID}
export AWS_REGION=ap-southeast-2
export NODE_SIZE=t2.medium
export MASTER_SIZE=t2.medium
export ZONES="ap-southeast-2a"
export MASTER_COUNT="1"
export NODE_COUNT="1"
export TOPOLOGY=private
export PROVIDER=aws
Run the below KOPS command to create the cluster-
kops create cluster \
--cloud $PROVIDER \
--master-count=$MASTER_COUNT \
--node-count=$NODE_COUNT \
--dns $TOPOLOGY \
--zones $ZONES \
--topology $TOPOLOGY \
--networking weave \
--network-cidr $NETWORK_CIDR \
--vpc ${VPC_ID} \
--node-size $NODE_SIZE \
--master-size $MASTER_SIZE \
--ssh-public-key=~/.ssh/id_rsa.pub \
--bastion=true \
--name ${CLUSTER_NAME} --yes
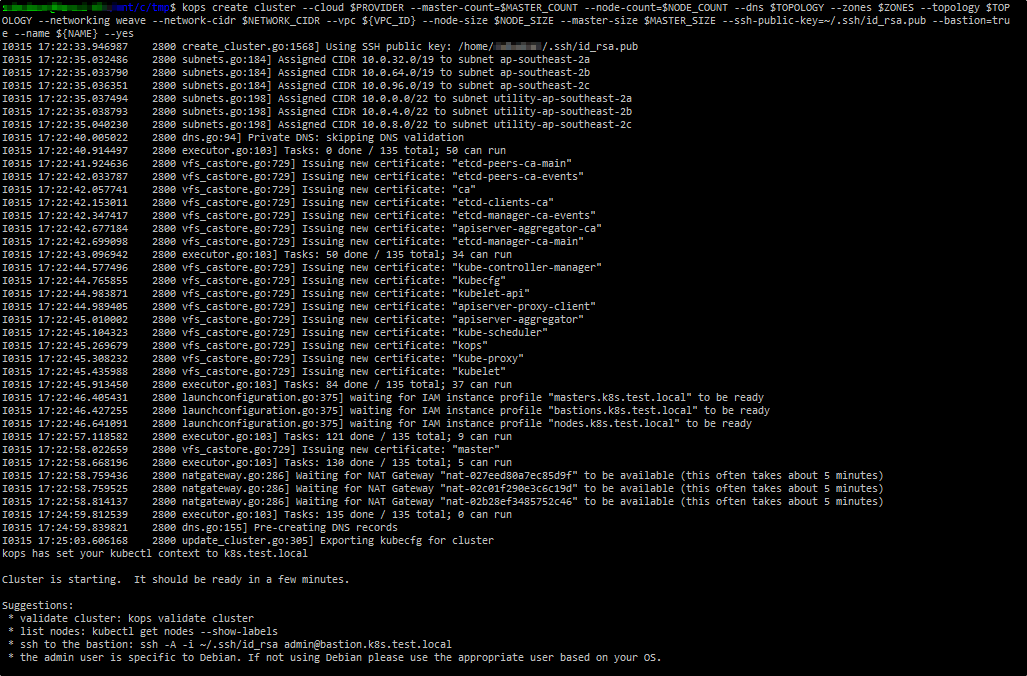
Kops will create following resources-
-NAT gateway
-Private and public subnets
-Elastic IPs
-EC2 instances (Master, Node & Bastion)
-IAM roles
-Route tables
-Security groups
-EBS Volumes
-Key pairs
-Network Interfaces
-Load balancers
-Launch Configurations and Auto scaling groups
You can validate the cluster using below command-
kubectl validate cluster –state $KOPS_STATE_STORE –name $CLUSTER_NAME