When your build or deployment runs, the system begins one or more jobs. An agent is installable software that runs one build or deployment job at a time. You can set up and manage an agent on your own to run build and deployment jobs. After you’ve installed the agent on a machine, you can install any other software on that machine as required by your build or deployment jobs.
Steps:
- Login to portal.azure.com
- Provision a Ubuntu 16.04 VM. This VM will be used to setup the build agent.
- Login to your Dev project in DevOps (https://dev.azure.com/<your project name>)
- Go to Project Settings–>Pipelines–>Agent Pools and click on New Agent Pool.
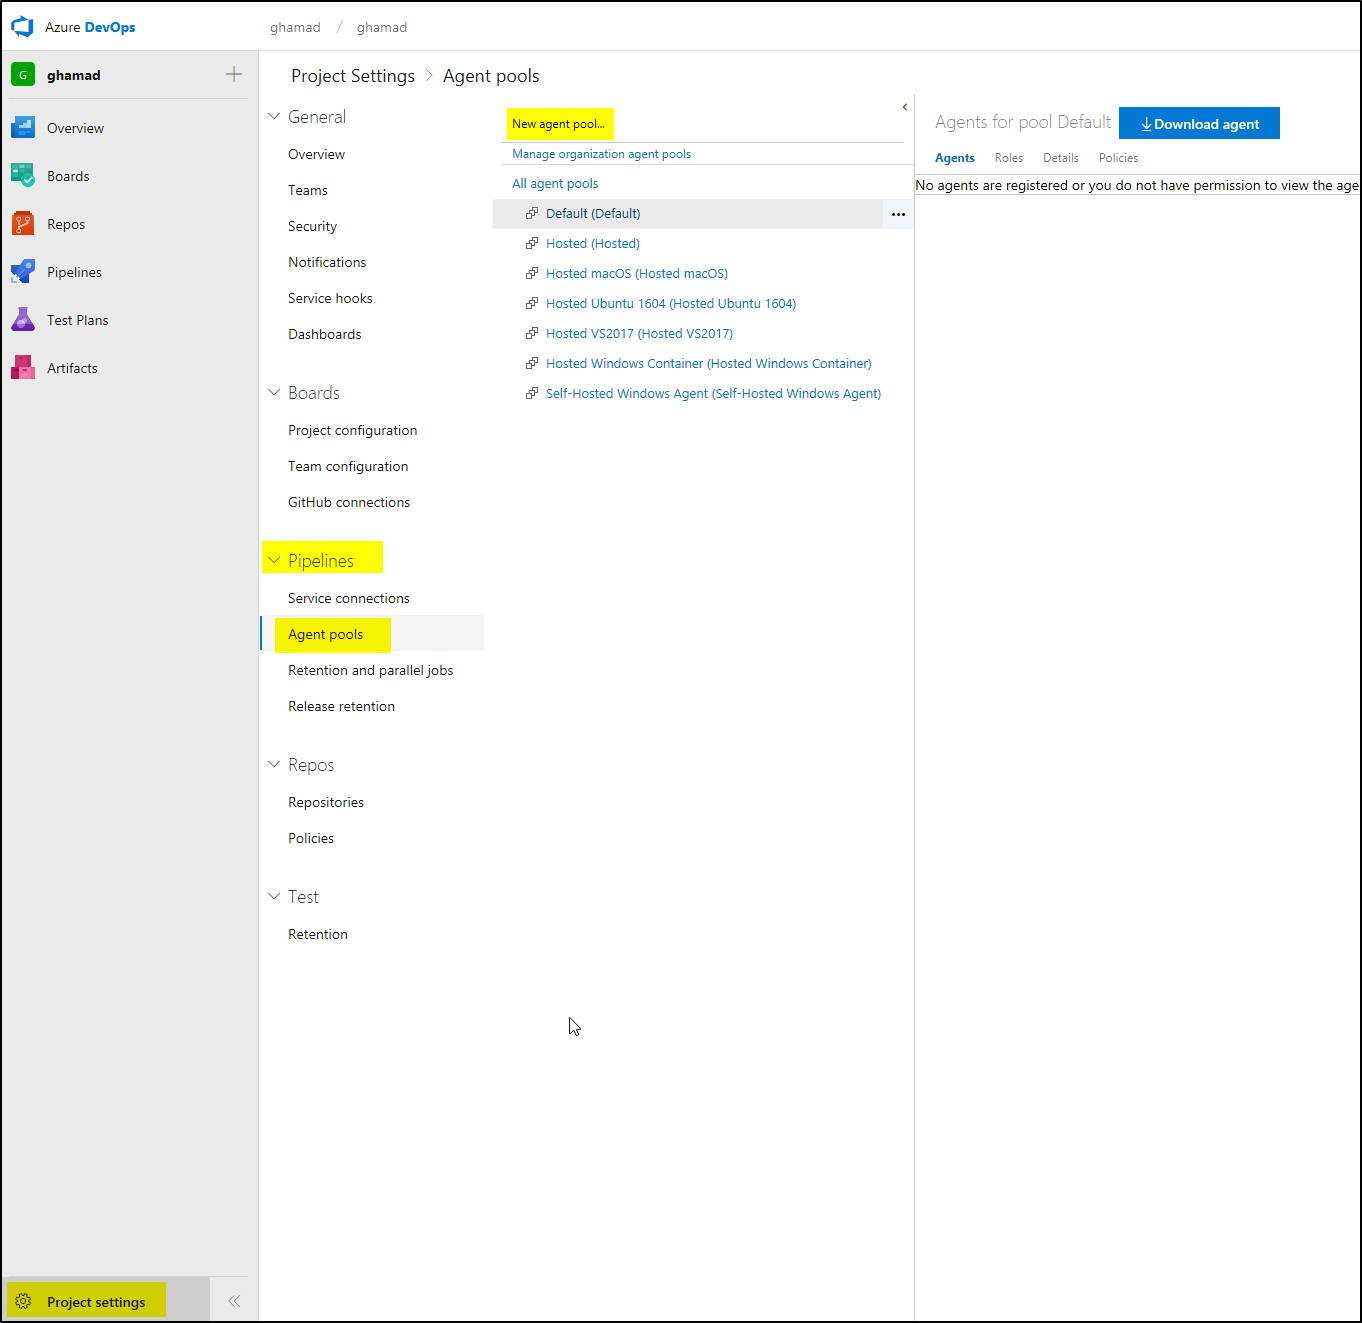
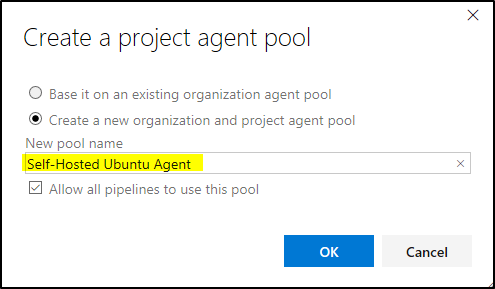
- Enter a name for the agent and click OK:
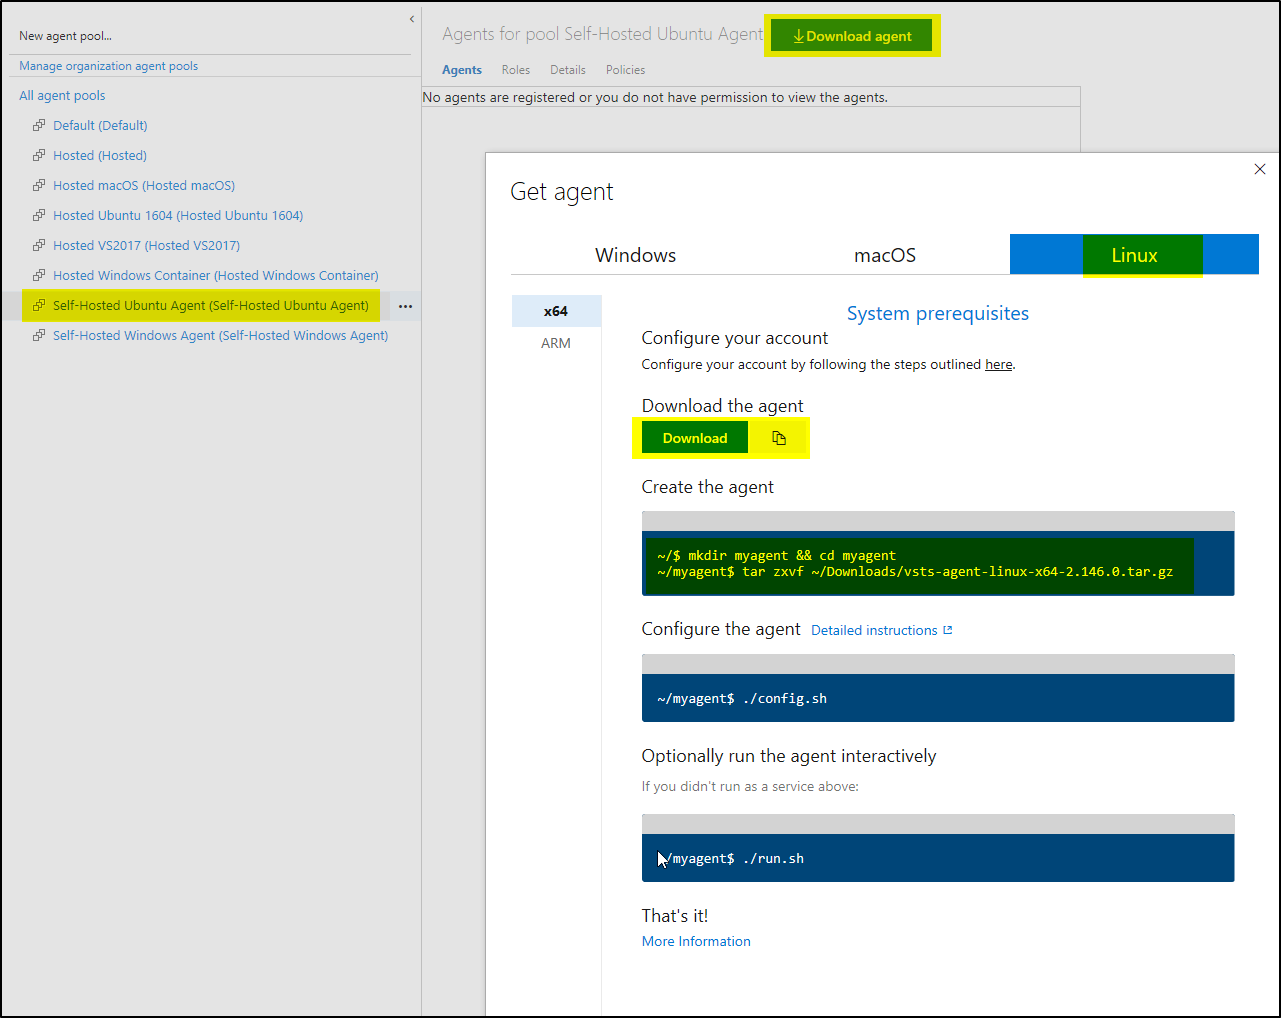
- Once the Agent Pool is created, select the pool and click on “Download Agent”. On the new pop-up window click on Linux tab:
- Login to VM using PuTTY (from windows desktop)
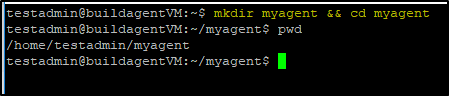
- Create the agent folder using the below command: mkdir myagent && cd myagent
- Download the agent using below command: wget https://vstsagentpackage.azureedge.net/agent/2.146.0/vsts-agent-linux-x64-2.146.0.tar.gz
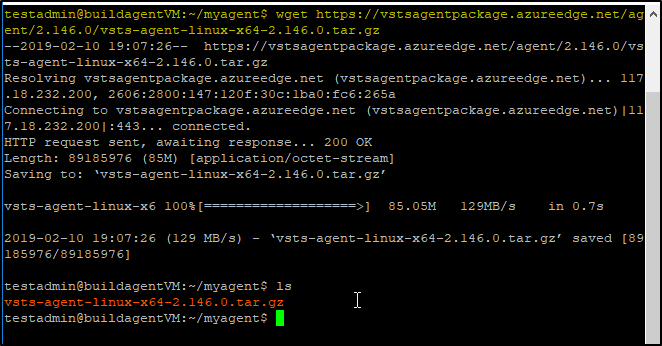
- Unzip the content using below command: tar zxvf ./vsts-agent-linux-x64-2.146.0.tar.gz

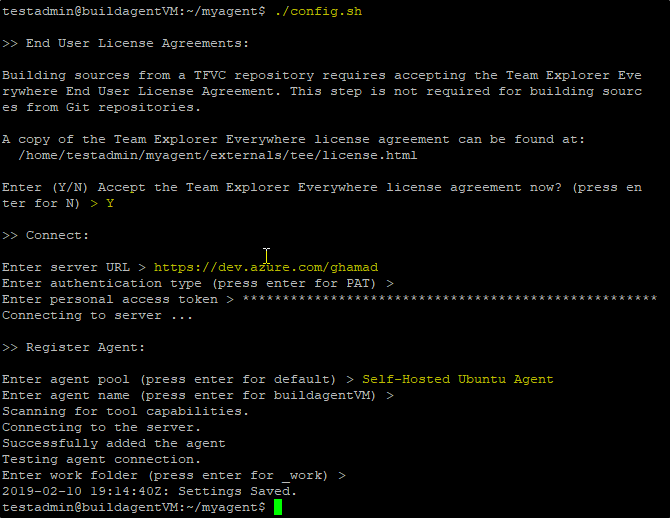
- Once the contents are extracted, configure the agent using the command: ./config.sh
- Provide the server URL: (https://dev.azure.com/<your project name>), PAT key, and agent pool name which you created earlier:
- Note: For generating PAT key follow the steps provided in this link – PAT key
- Once the agent is configured, it will show as below under your agent pool:
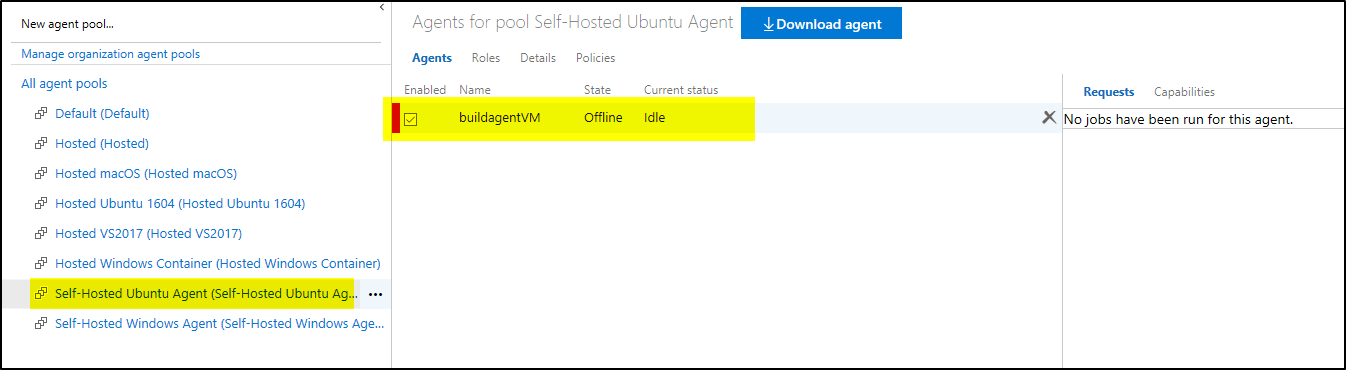
- It is still not available to use, notice the RED color status.
- To start the agent in interactive mode, run the command: ./run.sh
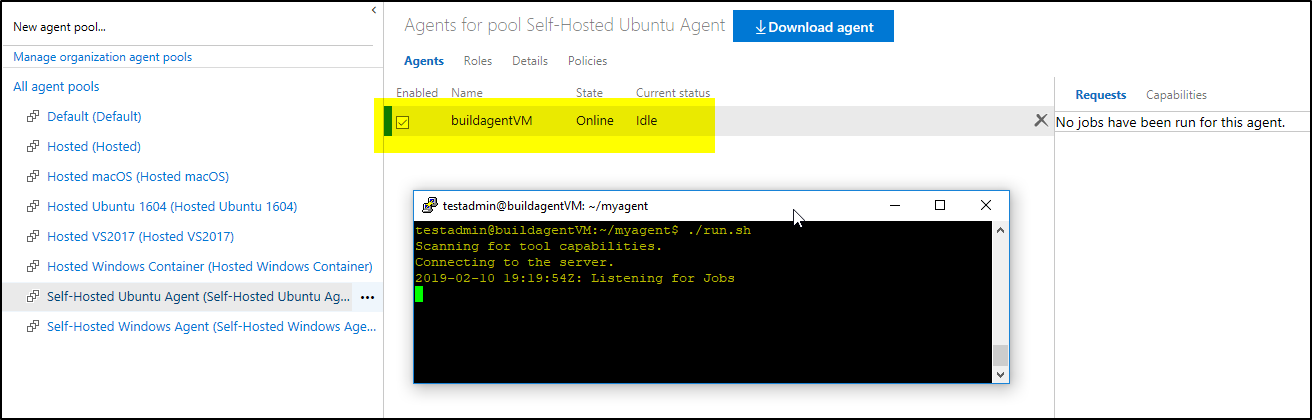
- The agent will be available to take build tasks now. The status shows GREEN.
Note: While executing the ./config.sh command if you received the below error then execute this command to install required dependencies- sudo ./bin/installdependencies.sh

To setup Self-Hosted build agent on Windows, you can follow this link: