You have existing code of your project on your local PC in Visual Studio 2017 that you want to push to the Azure DevOps Git Repository. This article uses one of the Microsoft provided sample application project source code to explain how the local source code can be pushed to DevOps Git repository.
Steps:
>>Download Git from here and install it.
>>Login to Azure DevOps account to create a new project for Git Repo. The URL will be something like https://dev.azure.com/ghamad, click Create project button

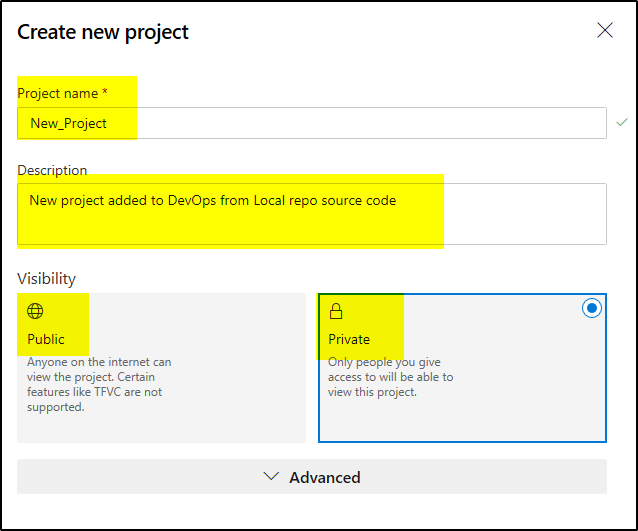
>>Provide Project name and description. Also set Visibility as Public or Private and click Create.
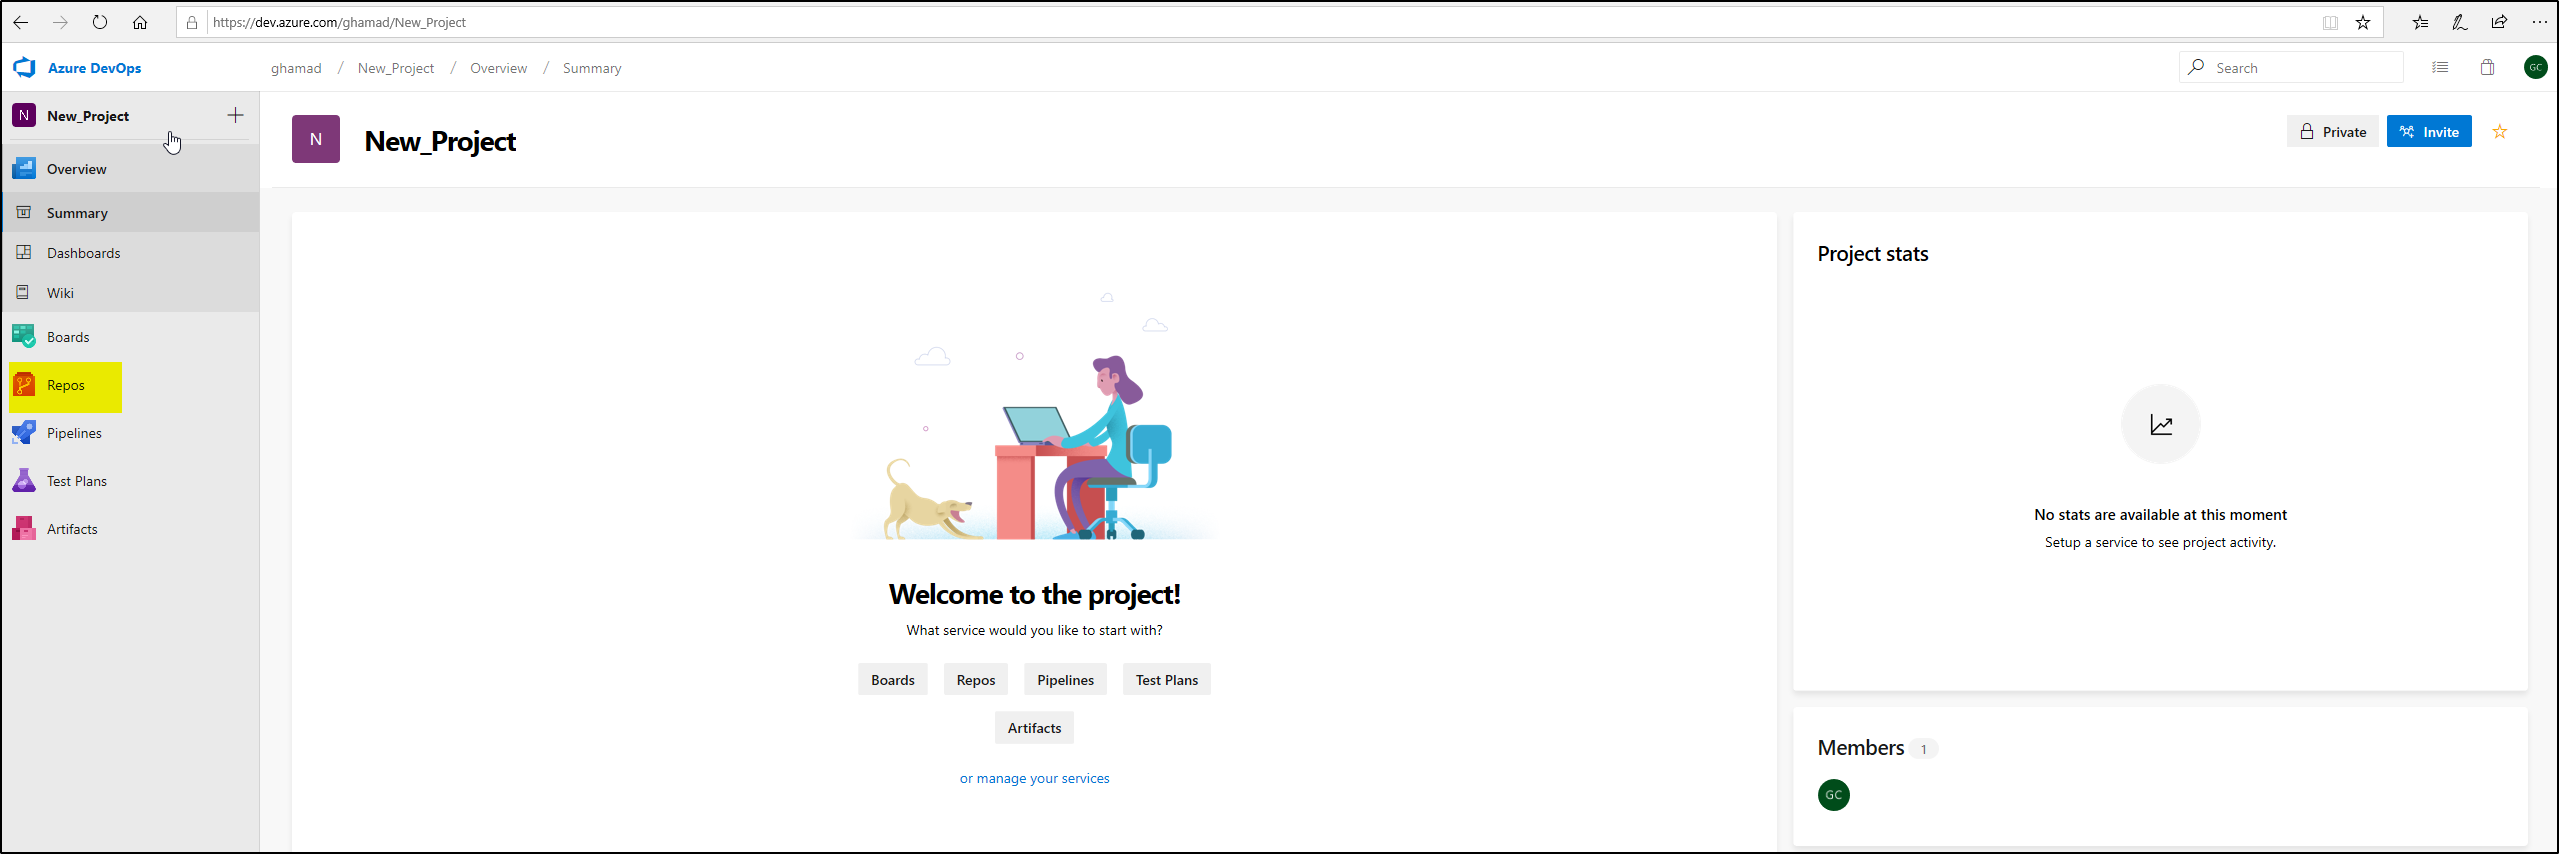
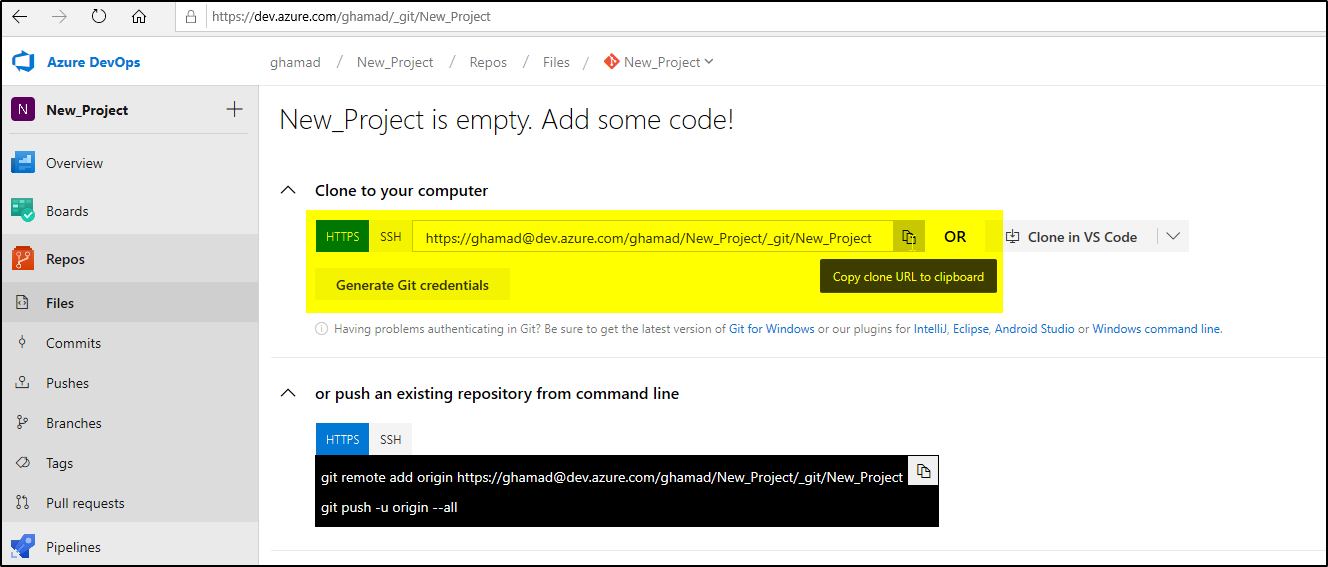
>>Once project is created, it will open a page as shown below. Click on Repos menu option on left side and copy the clone URL
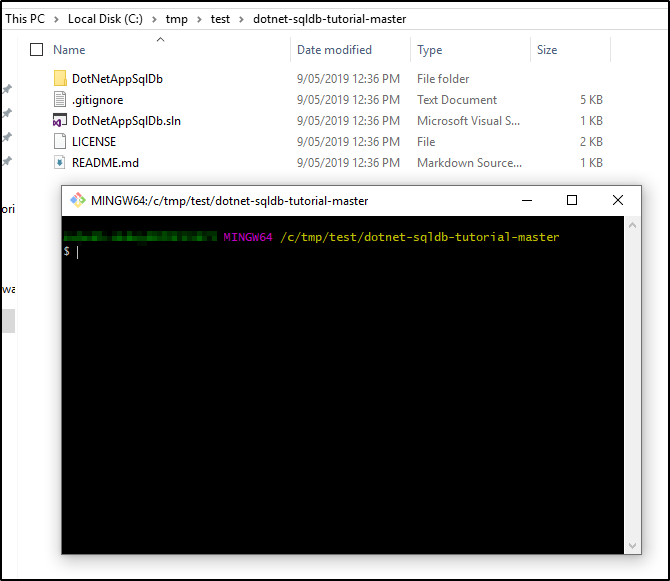
>>Now on your local machine/PC, go to the root folder where your projects source code is placed. In this example it is placed in C:\tmp\test\dotnet-sqldb-tutorial-master, right click and select “Git Bash here”

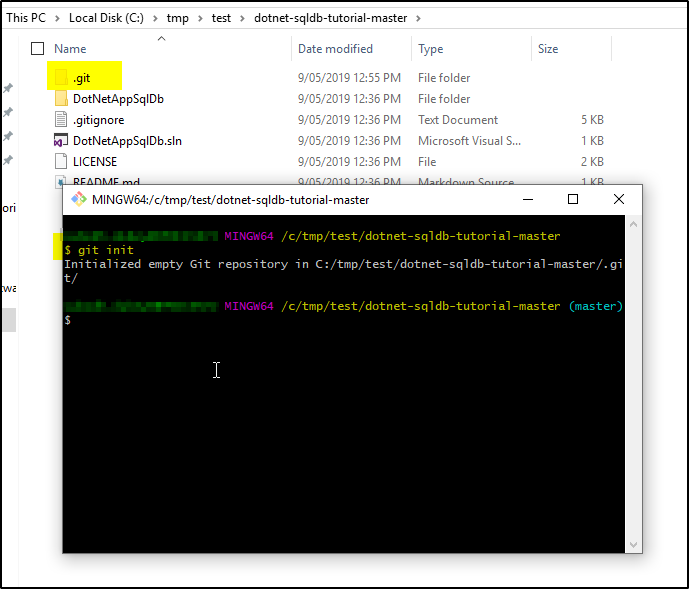
>>It will open the Git command prompt as shown.
>>Run the below commands one by one to push the local source into DevOps Git Repo
1. git init
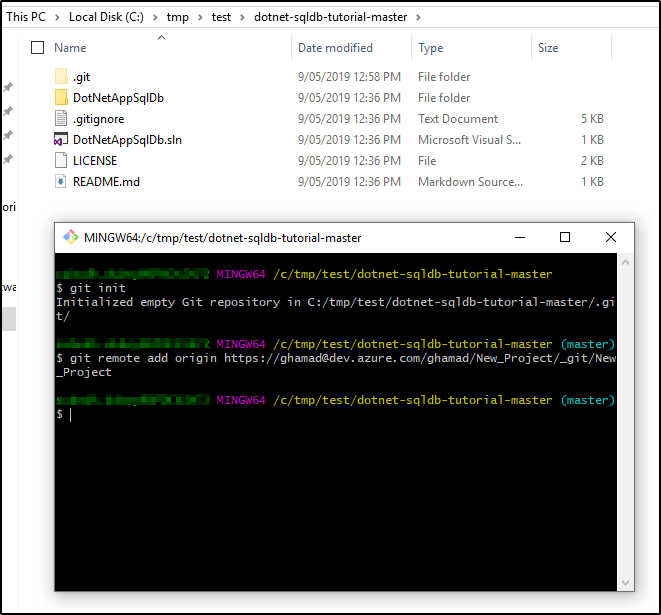
 2. git remote add origin <replace the URL of Azure Git Repo copied earlier>
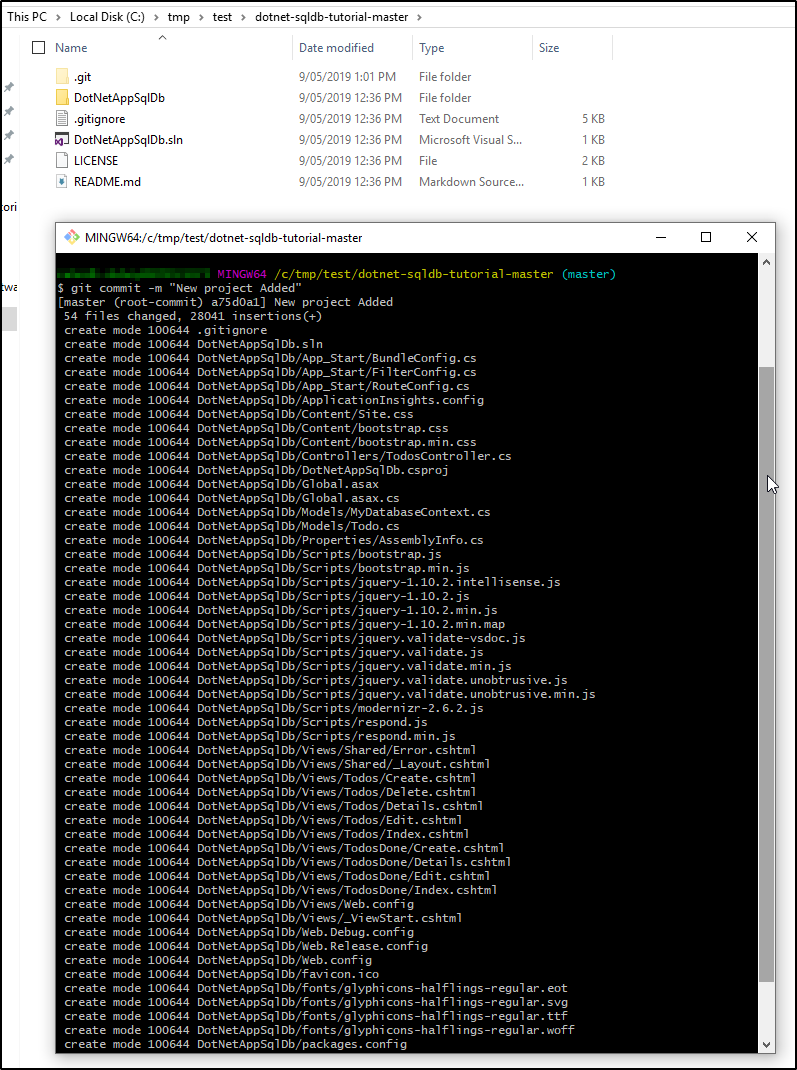
3. git add .
4. git commit -m “New project added”
5. git push -u origin master
This will push the source from local to DevOps Git repo.
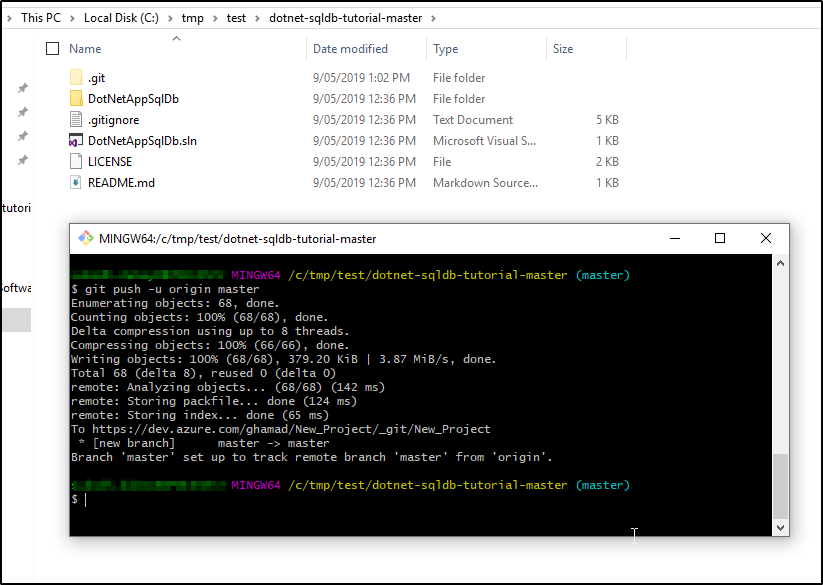
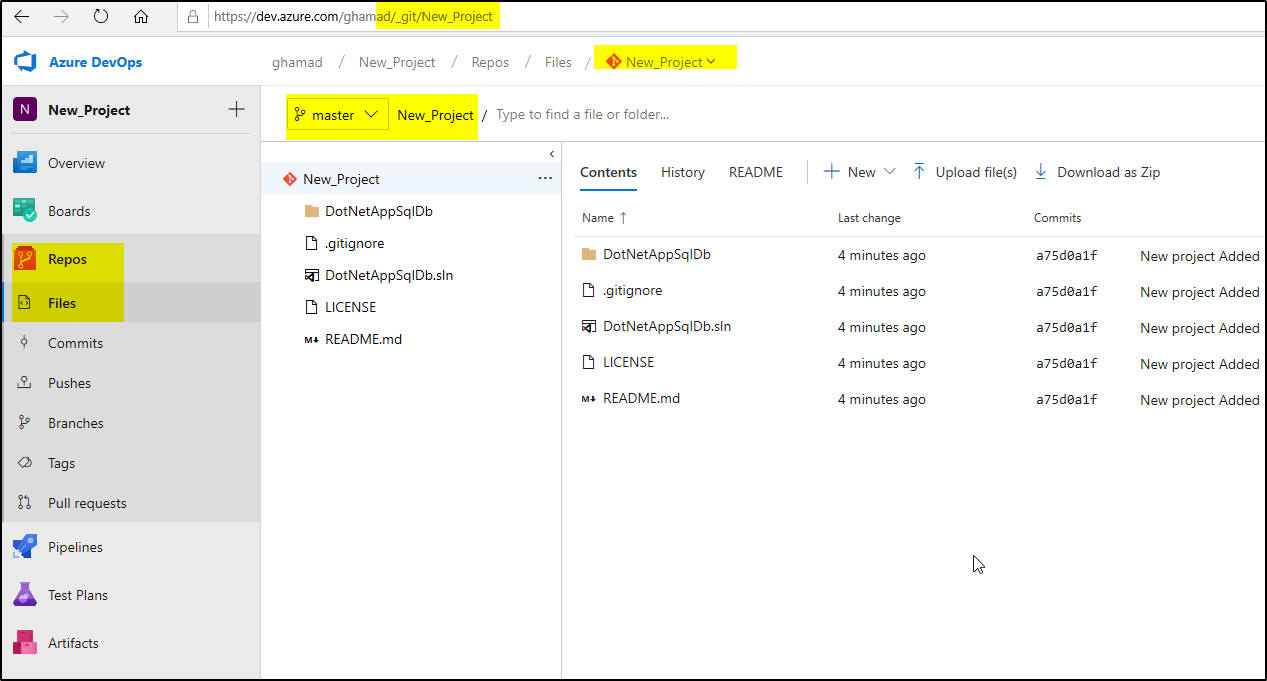
Now go back to DevOps account and check refresh the Repos on the project, you should see the source code available there.
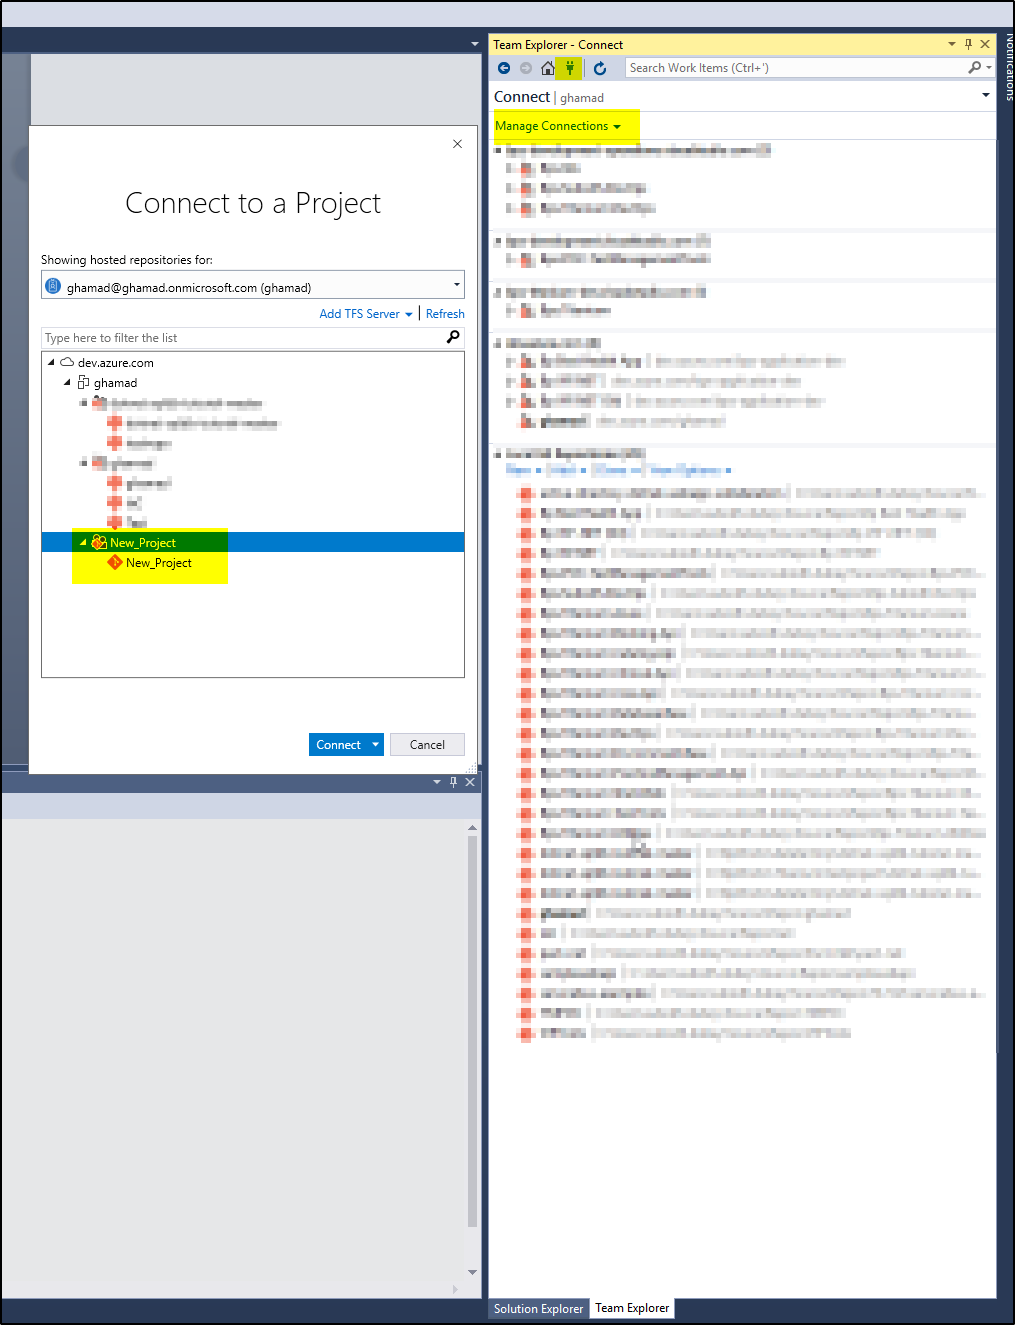
Now open Visual Studio 2017 and Open the project code from local path. Then go to Team Explorer –>Manage Connection and select the New_Project to connect
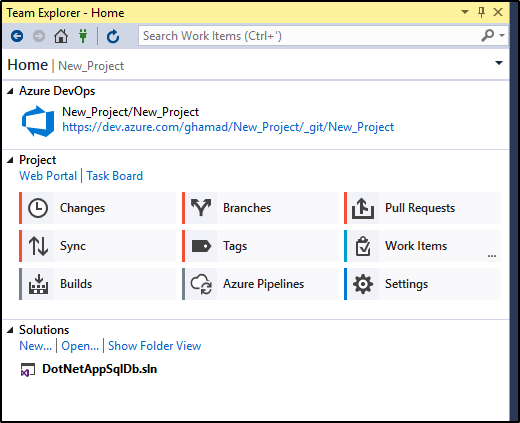
Your source is now connected to DevOps Git Repo and you can start working on local copy now.