If you do not want to run your build using “Hosted VS2017” build agent (because it provides only 200 minutes of free build experience per account), then you can easily setup build agent on your local machine.
Follow the steps to create and setup a windows build agent on your local laptop or server and then run your VSTS CI build using this local build agent.
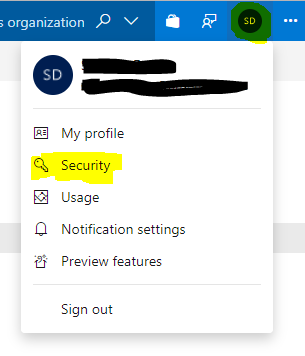
1. Create a PAT by clicking on Security option as shown below-
Click on Add and enter a name in “description” field on new screen shown, leave rest as default and click “Create Token” button at the bottom. Save the taken somewhere in text file for future use.
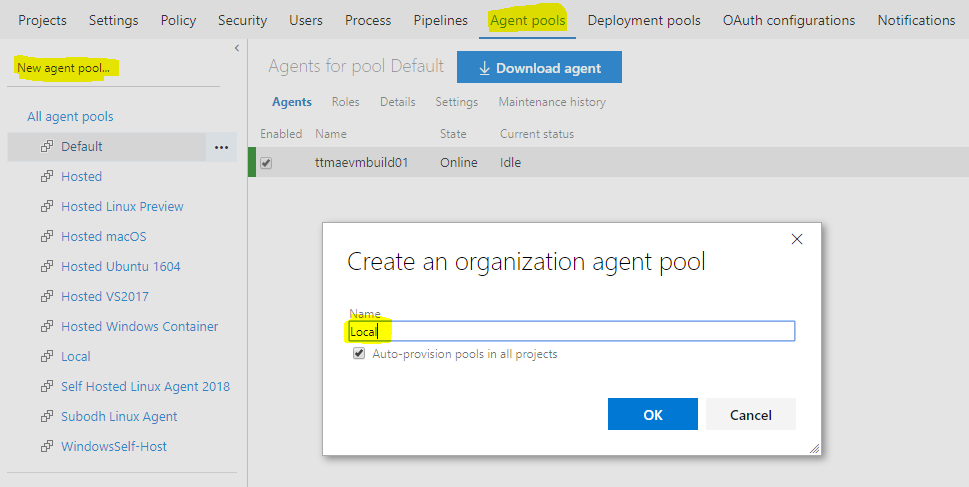
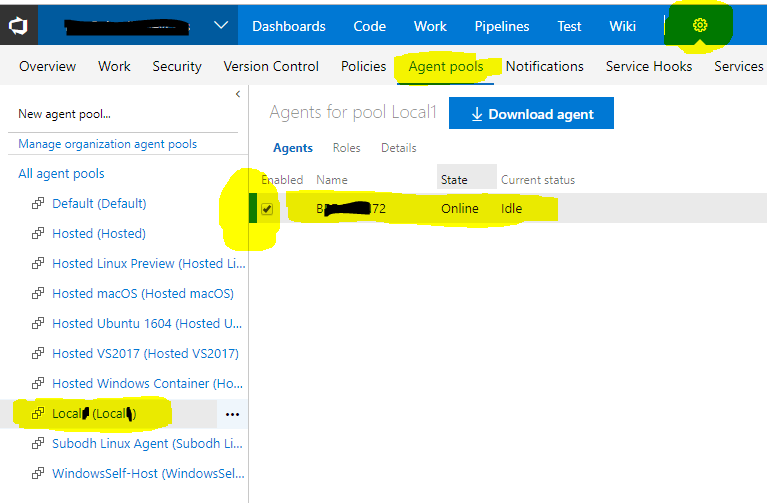
2. To setup local build agent you would need “Agent Pool” name to add it to and PAT (personal access tokens) to connect to the project in VSTS. Create new “Agent Pool” as shown in screen below-

To create “Local” agent pool as shown in above image, click on “New agent pool” and enter the name of pool in the popup window-
3. Now on the same “Agent Pools” screen, click on “Download agent” button-
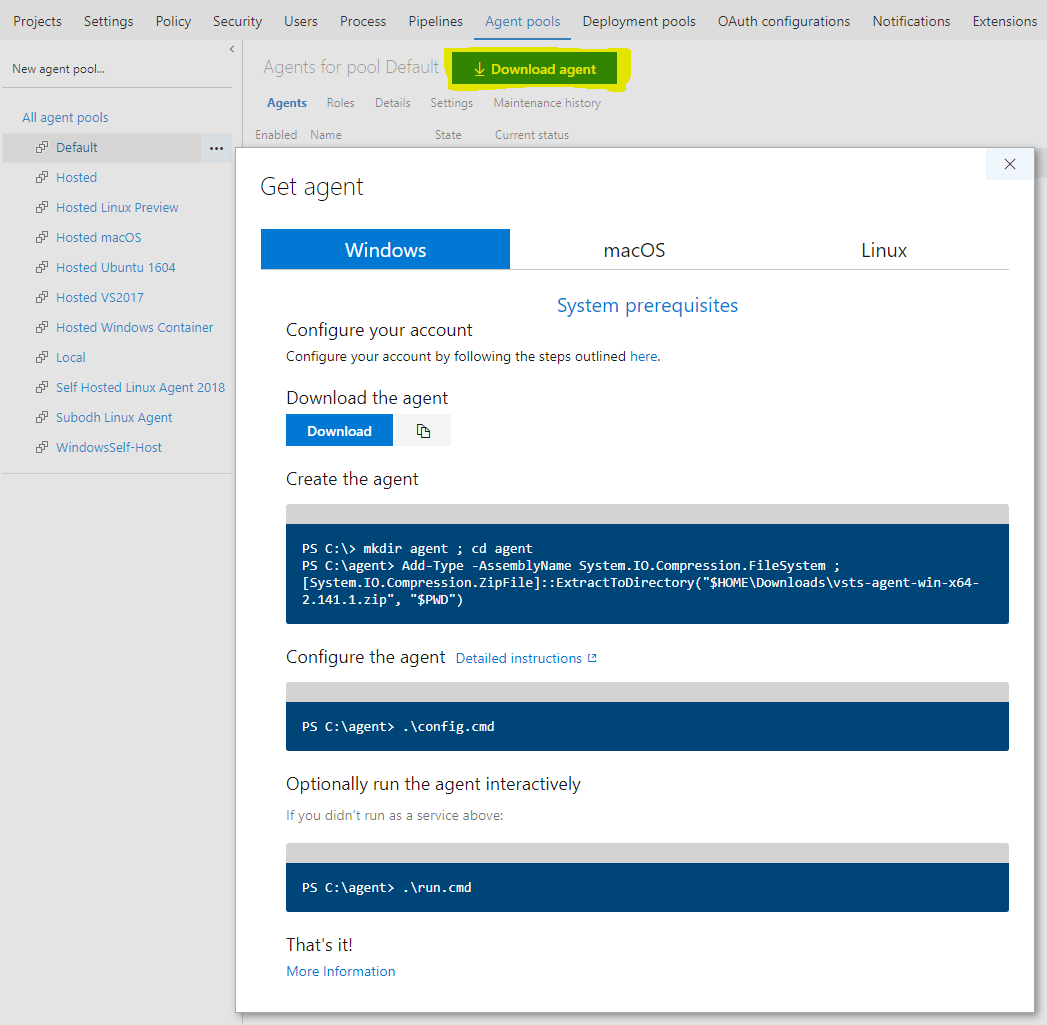
4. It gives option to download Windows or macOS or Linux build agent. For this article we will download the Windows agent.
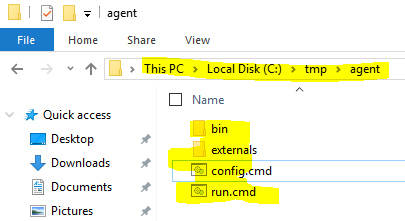
5. Copy the zip file to some path in local drive like C:\tmp\agent and unzip the content in this folder as shown below-
6. Now open command prompt (with “Run as Administrator” option) and change the directory to C:\tmp\agent and ruin .\config.cmd to configure the build agent-
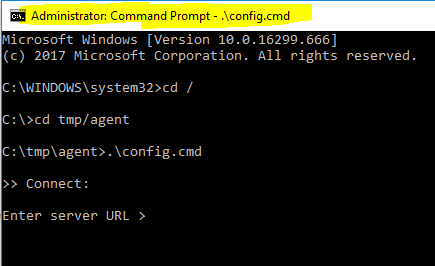
7. Enter the visual studio access url like https://<your VSTS account name>.visualstudio.com
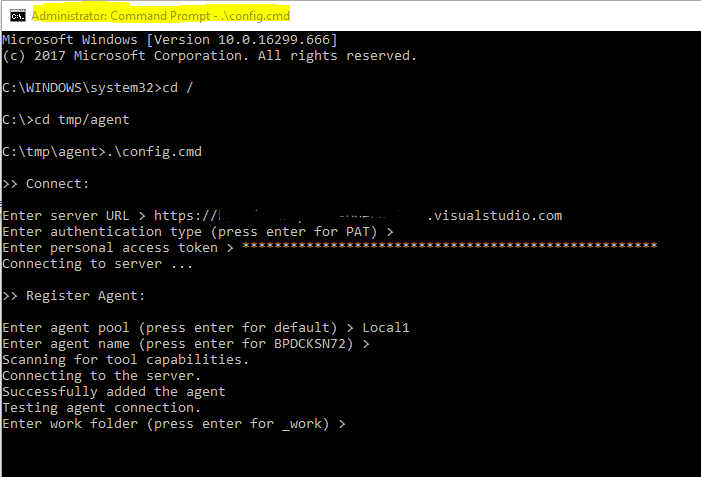
8. Press enter for PAT and then paste the PAT value created earlier-

9. Enter the Agent Pool Name as Local (this one was created in earlier steps). For agent name just press enter. It will scan for the capabilities and then show the below screen-
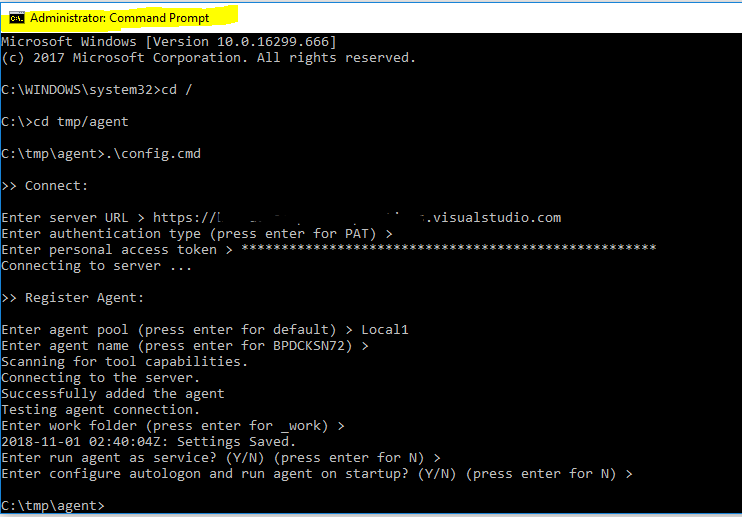
10. Select default work folder, press enter. It will then ask whether agent should run as a service. I suggest NOT to run as a service as it will help in debugging the build issues in agent console. so press enter to say No. Press enter again to complete the build agent setup and its connection to VSTS account.
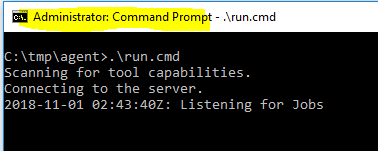
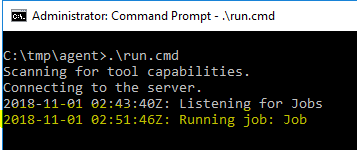
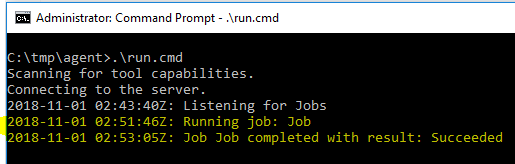
11. Now start the build agent by running command .\run.cmd. Once it start listening for jobs, it would look like this in command prompt and VSTS Agent pools (it will show GREEN color indicating that it is connected and ready to take task)-
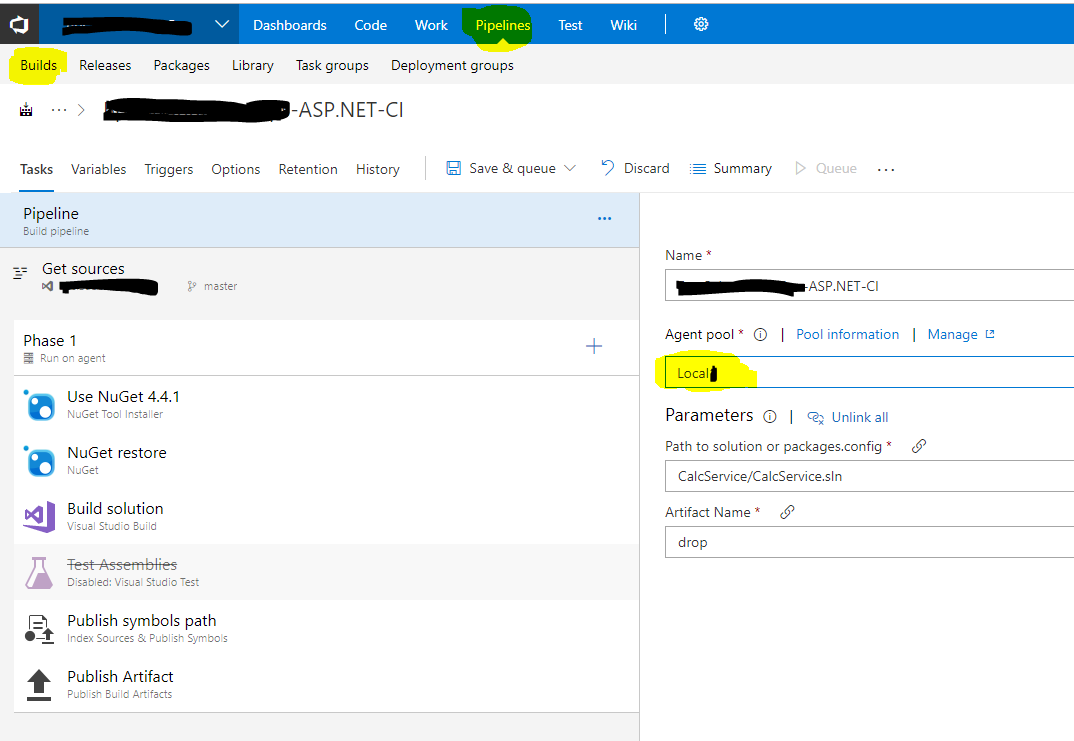
12. Now we will run CI build definition using this build agent. Go to Pipelines–>edit the build definition and select the “Local” build agent under “Agent pool” as shown below and queue the build to run-
13. Build agent will start downloading the task and then execute them to create build artifacts.
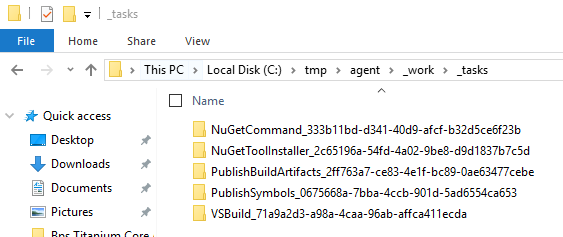
In VSTS the logs will show something like this-

Hope this helps to setup your local windows build agent.