The ARM template provided here will create a Microsoft Visual Studio based VM with VNet, Network Interface, Public IP and then then installs the Visual Studio Team Services build agent. There are few templates available at https://github.com/Azure/azure-quickstart-templates.
But I have changed them to install latest dependencies and the latest build agent. After debugging it I have made the change to fix it. I believe this template now should work without issues for anyone. If required you can make further changes.
Pre-requisite:
>>You have a VSTS account
>>Create Personal Access Token (PAT) and keep it handy. Follow this link for the steps to create one.
>>Decide on VM name, VM size, VM admin user name and password, Build agent Pool name, Build agent name, Virtual Network name, Subnet name, Resource group name.
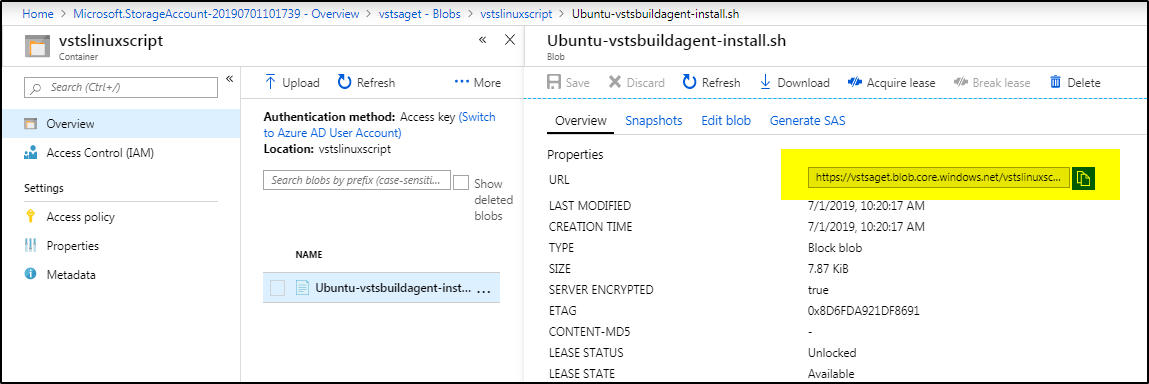
>>Storage account to store the “Ubuntu-vstsbuildagent-install.sh” file.
Steps to create VM with VSTS build agent on Linux (Ubuntu) using ARM template in VS 2017 :
>>Download the files from github and unzip the files.
>>Login to azure portal and create blob storage account. Follow this link.
>>Upload the “Ubuntu-vstsbuildagent-install.sh” file to blob storage account and get the access URL (make sure access level is Container) [You can place this file on github as well]
>> Now open the IaC_Soln in Visual Studio 2017
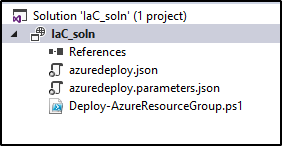
>>Open azuredeploy.parameters.json file and update the parameter values for your environment

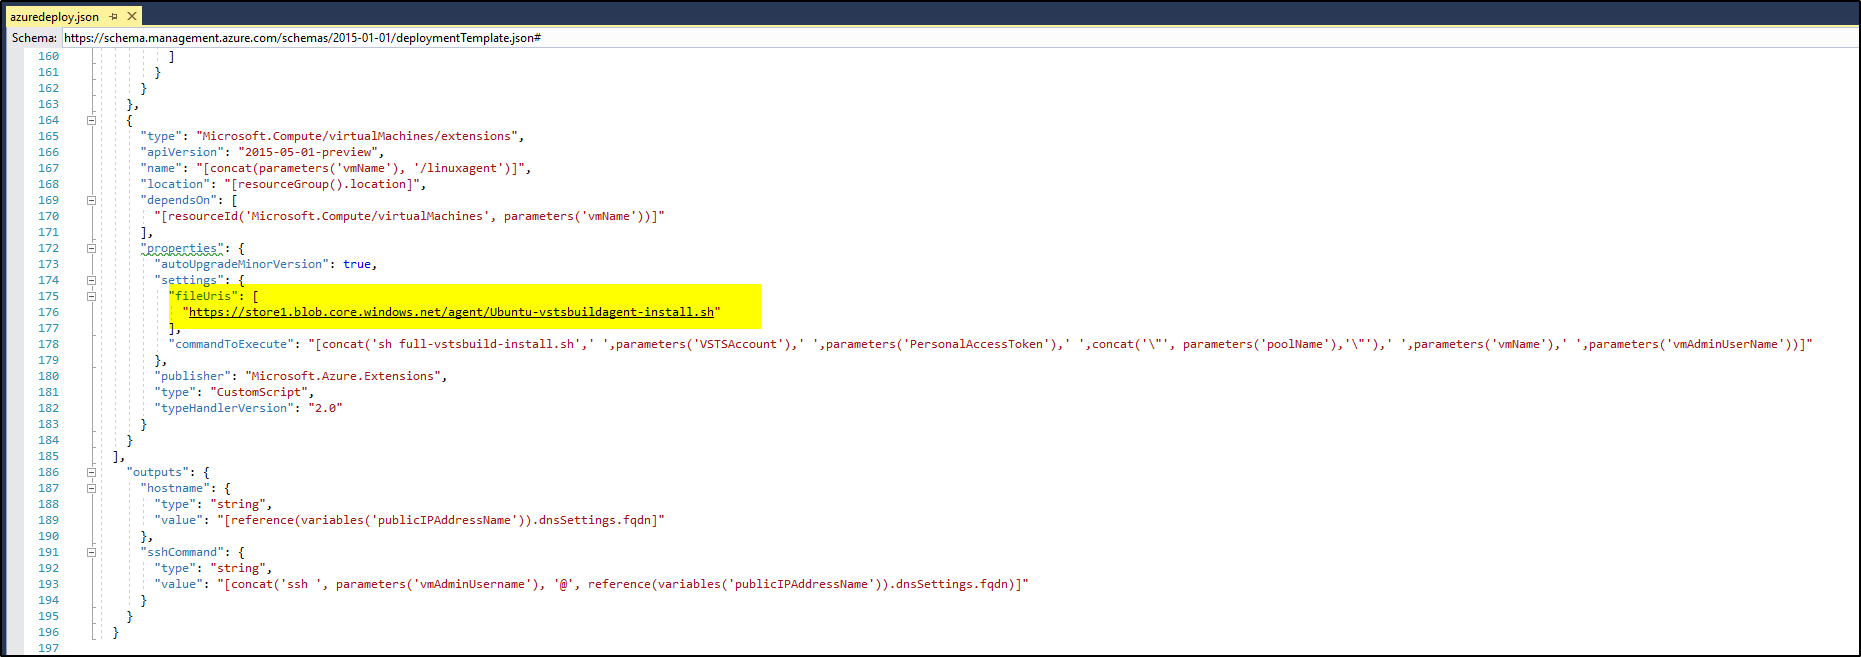
>>Open azuredeploy.json file and search for ‘fileUris’, replace the URL with your storage account URI.
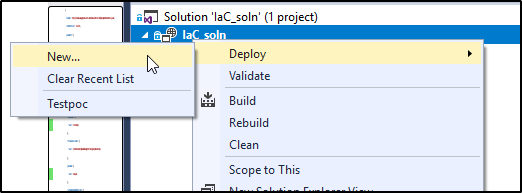
>>Save and build the solution. Right click on solution and click Deploy
>>Make sure you are logged into right account, select subscription, resource group, deployment template and template parameter file
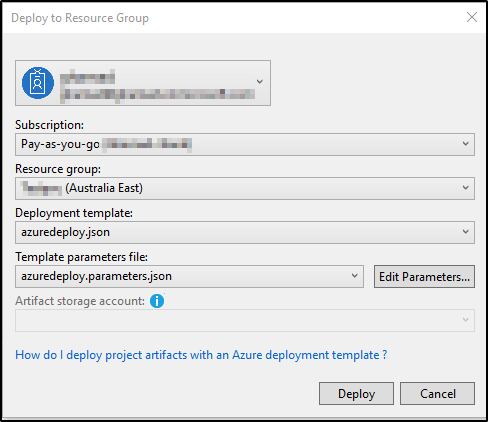
>>Click Deploy..It will start the deployment and complete it. You can check in your agent pool at the end that the agent is registered and available.